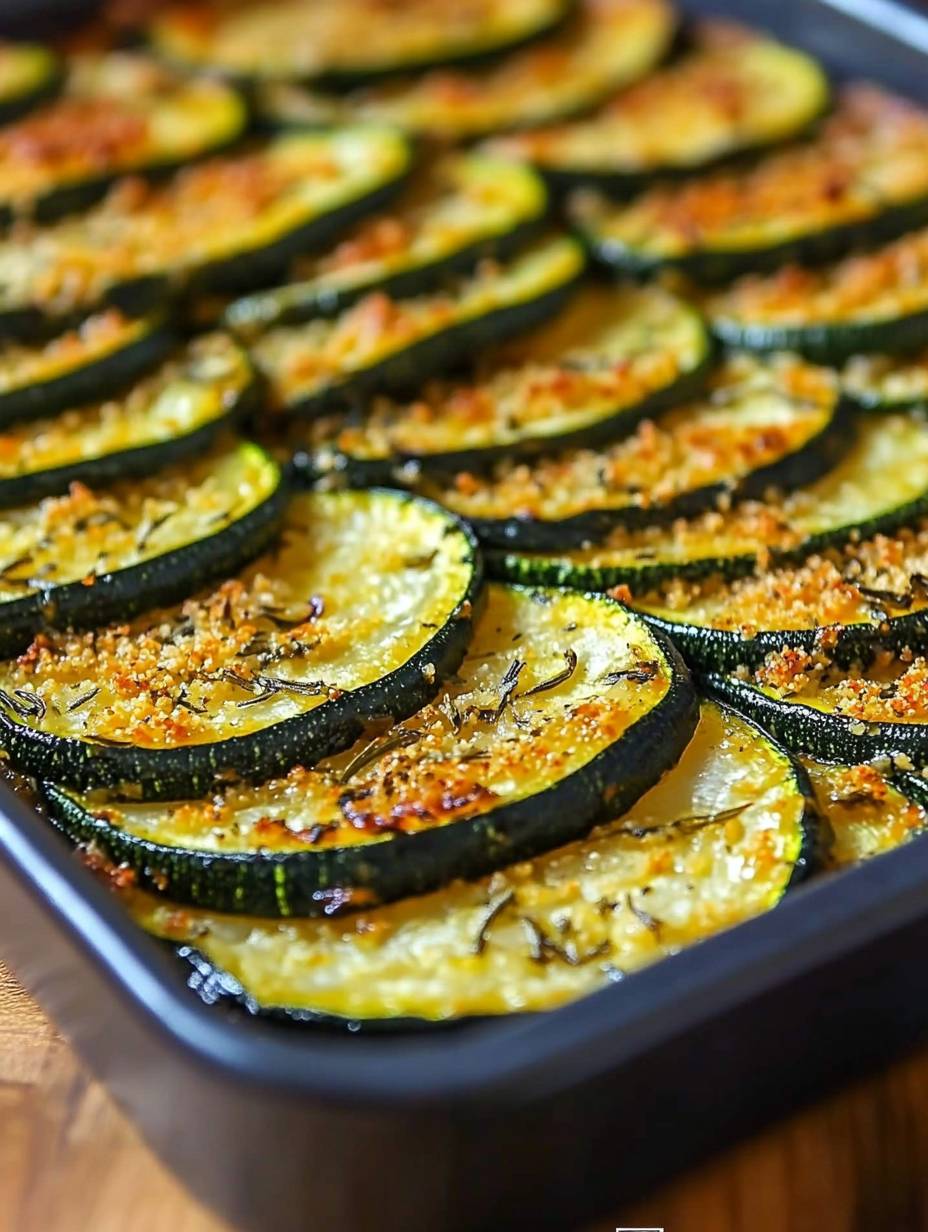
Every time I make Sliced Baked Zucchini, it takes me back to the simple pleasures of life. There’s something about the smell of fresh zucchini baking in the oven that brings warmth into the kitchen, especially on those quiet afternoons when I have a little time to myself. Growing up, zucchini was always abundant in our summer garden, and my mother taught me how to turn this humble vegetable into a crispy, savory snack. I know you’ll feel that same comfort when you try this recipe. The best part? It’s so easy to make that you’ll find yourself turning to it time and again. Trust me, it’s perfect for those days when you want something light but delicious.
How to Make Sliced Baked Zucchini
Ingredients
Below is a table with all the ingredients you’ll need for this delicious baked zucchini. These are all pantry staples you probably have, and I’ve added a few notes to make it extra special:
| Ingredient | Amount |
|---|---|
| Zucchini (medium) | 4 |
| Olive Oil | 2 tablespoons |
| **Grated Parmesan Cheese** | 1 cup |
| **Breadcrumbs** | 1 cup |
| Salt | 1/2 teaspoon |
| Oregano | 1/2 teaspoon |
| Basil | 1/2 teaspoon |
| Garlic (minced) | 2 cloves |
Personal note: I love adding fresh herbs like rosemary or a sprinkle of red pepper flakes. It adds just the right kick and makes the zucchini smell and taste amazing!
Cooking Steps
Here’s a simple step-by-step guide to making your Sliced Baked Zucchini. Follow along, and you’ll have a delicious, crispy snack ready in no time.
1. Preheat the Oven
Set your oven to 425°F (220°C). While it’s preheating, line a baking sheet with parchment paper or aluminum foil. This will make cleanup a breeze later.
2. Prepare the Zucchini
Wash the zucchini thoroughly, making sure there’s no dirt left. Then slice them into thin rounds, about 1/4 inch thick. Try to keep the slices even so they cook at the same rate.
3. Toss the Zucchini in Olive Oil
Place your zucchini slices in a large bowl and drizzle olive oil over them. Toss gently to ensure each slice is evenly coated. This helps the zucchini get that beautiful golden brown color when baked.
4. Make the Coating Mixture
In a separate bowl, combine grated Parmesan cheese, breadcrumbs, salt, oregano, basil, and minced garlic. Mix it all together. This is where all the flavor comes in!
5. Coat the Zucchini Slices
One by one, dip each zucchini slice into the breadcrumb mixture. Press gently to make sure both sides are coated. This part can be a bit messy, but it’s worth it. I always feel like I’m making something special when I’m coating the zucchini!
6. Arrange the Zucchini on the Baking Sheet
Lay your zucchini slices on the prepared baking sheet in a single layer. Make sure none of them overlap, so they get nice and crispy.
7. Bake to Perfection
Place the baking sheet in the preheated oven and let the zucchini bake for 15-20 minutes. Halfway through, flip the slices to make sure they bake evenly on both sides. Keep an eye on them so they don’t burn—they should be golden brown and crispy.
8. Cool Slightly
Once they’re done, remove the zucchini from the oven and let them cool for a few minutes. This allows them to crisp up even more.
9. Serve with Gusto
Now comes the best part—serving! I like to serve these zucchini slices with a side of marinara sauce for dipping. They’re perfect as an appetizer, side dish, or even a light snack.
Why I Love Making This Dish
This dish brings back so many happy memories for me. The zucchini always reminds me of summer days spent with my mom in our backyard garden, harvesting fresh vegetables and preparing meals together. There’s something so satisfying about turning a simple vegetable into something so flavorful. Plus, it’s healthy! You won’t feel guilty indulging in these crispy, cheesy zucchini slices. They’re perfect for when you want something light yet delicious, and the recipe is so easy, you can whip it up in no time.
Tips for Perfect Results
- Make it extra crispy: If you love your zucchini extra crispy like I do, you can switch the oven to broil for the last minute or two. Just be careful to watch closely, so it doesn’t burn!
- Experiment with herbs: You can switch up the herbs to your liking. I sometimes add thyme or even a pinch of cayenne for a little kick.
- Even slicing: Make sure your zucchini slices are all the same thickness. This helps them bake evenly.
Serving Suggestions and Sides
These baked zucchini slices go well with a lot of different meals. Personally, I love serving them alongside a grilled chicken or a hearty pasta dish. If you’re having a casual gathering or game night, they’re perfect as a snack or appetizer. Pair them with a dipping sauce like ranch, marinara, or even a homemade garlic aioli. Trust me, your guests will be asking for seconds!
Leftovers
If you have any leftovers (which I doubt!), you can easily store them in an airtight container in the refrigerator for up to 2 days. To reheat, just pop them back in the oven at 375°F for about 5-7 minutes to get that crispiness back. They’re also great cold if you like a chilled snack!
Frequently Asked Questions
Can I use yellow squash instead of zucchini?
Absolutely! Yellow squash has a slightly sweeter flavor, but it works just as well. I’ve done this many times when I run out of zucchini, and the results are still delicious.
Can I make this recipe gluten-free?
Yes, you can! Just use gluten-free breadcrumbs. I’ve tried it, and the taste is just as good.
What if I don’t have Parmesan cheese?
If you don’t have Parmesan, you can substitute it with Pecorino Romano or even a vegan cheese option. The flavor will change a little, but it’ll still be tasty.
Conclusion
This baked zucchini recipe has quickly become a favorite in my house. It’s light, flavorful, and easy to make, perfect for those days when you want something healthy but don’t feel like spending hours in the kitchen. The best part is that it’s so versatile—you can enjoy it as a snack, a side, or even as a main dish with some added protein. I’m so excited for you to try it! Let me know how it turns out, and if your family loves it as much as mine does, be prepared to make this a regular part of your meal rotation!