Why Make This Recipe
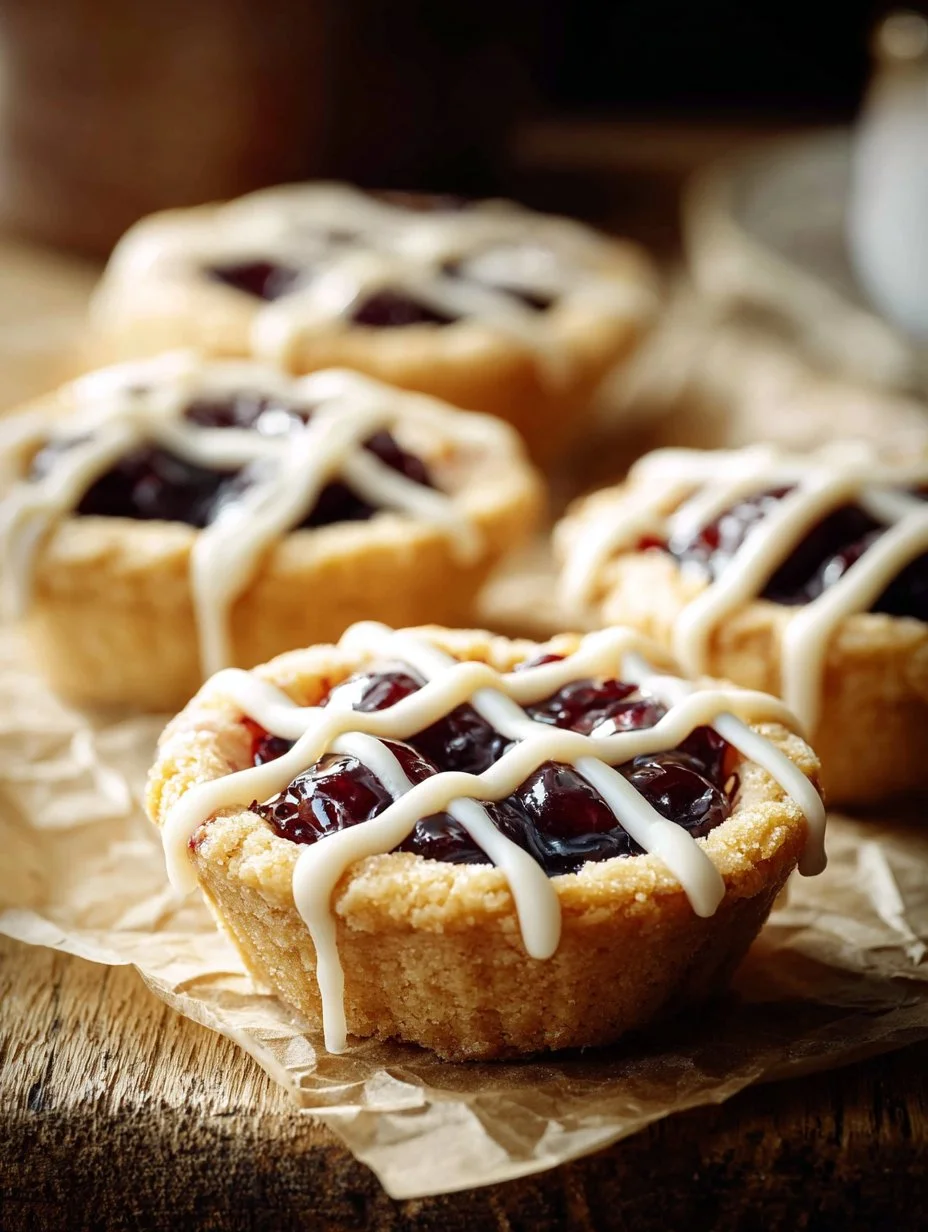
Berry Cookie Cups are a delightful treat that combines the sweetness of cookie dough with the tartness of mixed berry pie filling. They are easy to make, fun to share, and perfect for any occasion. Whether you need a quick dessert for a party or a special snack for your family, these cookie cups will surely impress your guests and loved ones.
How to Make Berry Cookie Cups
Ingredients:
- 16-ounce package refrigerated sugar cookie dough (24 count)
- 22-ounce can mixed berry pie filling
- 1 cup powdered sugar
- 2 ½ tablespoons heavy cream
- 1 teaspoon vanilla extract
Directions:
- Preheat the oven to 350°F (175°C).
- In a medium-sized bowl, mix the powdered sugar, heavy cream, and vanilla extract until smooth. Set this mixture aside for later.
- Spray a 12-cup muffin pan with nonstick cooking spray.
- Add enough cookie dough to each muffin cup to equal 2 cookies.
- Use the back of a tablespoon to create a depression in the center of each mound of dough.
- Bake the cookie cups for 10 minutes.
- Remove the pan from the oven and shape each cookie cup using a shot glass or a similar-sized object while they are still hot.
- Spoon one tablespoon of mixed berry pie filling into each cookie cup.
- Return the pan to the oven and bake for an additional 5 minutes.
- Allow the cookie cups to cool slightly until they become firm.
- Gently remove each cookie cup from the pan with a butter knife and place them on a cooling rack or parchment paper.
- Drizzle your prepared glaze over each cookie cup and enjoy!
How to Serve Berry Cookie Cups
Berry Cookie Cups can be served warm as a comforting dessert, or at room temperature as a snack. They are great for parties, family gatherings, or just a cozy night in. You can serve them on a platter, garnished with fresh berries for an extra pop of color and flavor.
How to Store Berry Cookie Cups
To store Berry Cookie Cups, place them in an airtight container at room temperature for up to 3 days. If you’d like to keep them longer, you can refrigerate them for up to a week. Just make sure to separate layers with parchment paper to prevent sticking.
Tips to Make Berry Cookie Cups
- Chill the dough: If the dough is too soft to work with, chill it in the refrigerator for about 15 minutes.
- Customize the filling: Feel free to try other pie fillings if you want to mix things up.
- Make ahead: You can prepare the cookie cups a day in advance and add the filling and glaze just before serving for freshness.
Variation
You can create different flavors by switching out the mixed berry pie filling for raspberry, cherry, or apple filling. You could also add chocolate chips to the cookie dough for an extra treat!
FAQs
1. Can I use homemade sugar cookie dough?
Yes! You can absolutely use homemade sugar cookie dough instead of store-bought.
2. What if I don’t have a muffin pan?
You can use a mini tart pan or even shape the cookies by hand on a baking sheet, making small depressions in the center.
3. How can I make these gluten-free?
Use a gluten-free sugar cookie dough to make gluten-free Berry Cookie Cups. Just ensure all other ingredients are also gluten-free.
Berry Cookie Cups
Ingredients
For the cookie cups
- 16 ounce refrigerated sugar cookie dough (24 count)
- 22 ounce can mixed berry pie filling
For the glaze
- 1 cup powdered sugar
- 2.5 tablespoons heavy cream
- 1 teaspoon vanilla extract
Instructions
Preparation
- Preheat the oven to 350°F (175°C).
- In a medium-sized bowl, mix the powdered sugar, heavy cream, and vanilla extract until smooth. Set this mixture aside for later.
- Spray a 12-cup muffin pan with nonstick cooking spray.
- Add enough cookie dough to each muffin cup to equal 2 cookies.
- Use the back of a tablespoon to create a depression in the center of each mound of dough.
Baking
- Bake the cookie cups for 10 minutes.
- Remove the pan from the oven and shape each cookie cup using a shot glass or a similar-sized object while they are still hot.
- Spoon one tablespoon of mixed berry pie filling into each cookie cup.
- Return the pan to the oven and bake for an additional 5 minutes.
- Allow the cookie cups to cool slightly until they become firm.
- Gently remove each cookie cup from the pan with a butter knife and place them on a cooling rack or parchment paper.
- Drizzle your prepared glaze over each cookie cup and enjoy!