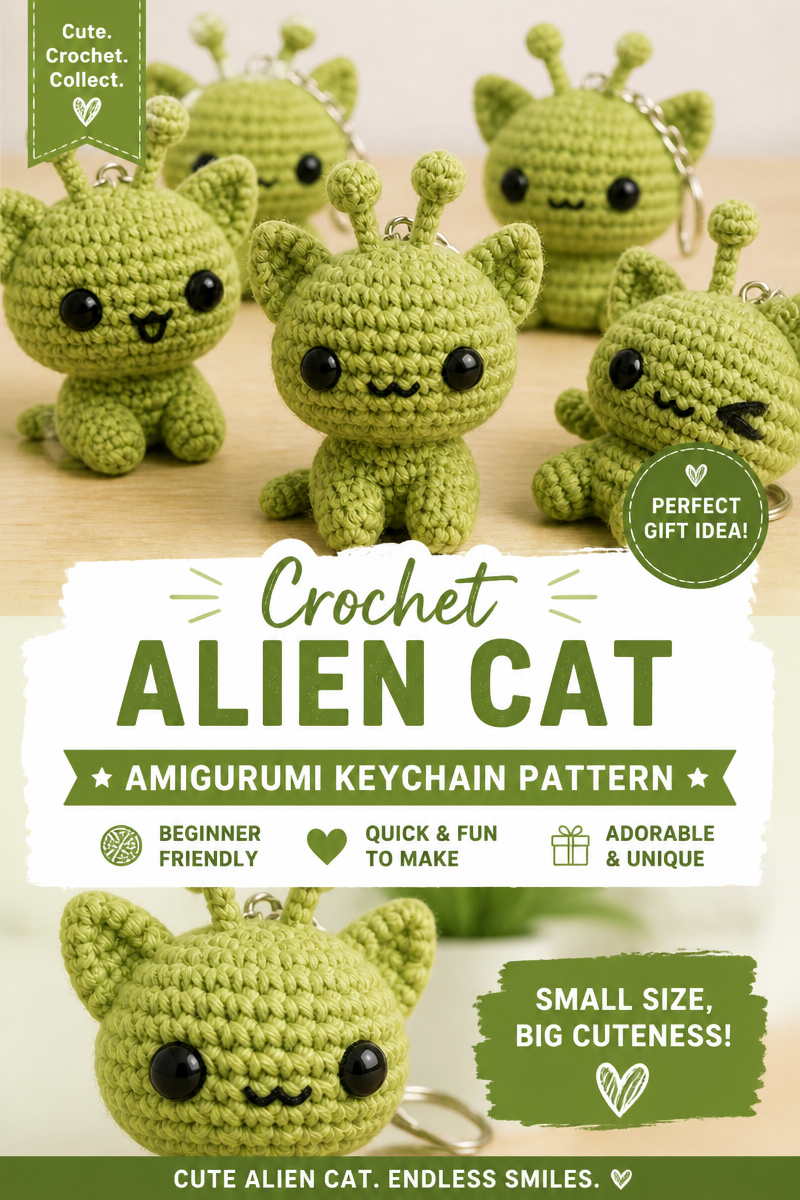

Crochet Green Alien Cat Amigurumi Keychain
amigurumi is one of those hobbies I fall back on when I need a tiny win after a long day. You know that feeling when you want to make something cute, quick, and actually finish it without a pile of half started projects staring at you? Same. That is exactly why I keep coming back to a Crochet Green Alien Cat Amigurumi Keychain, because it is small, satisfying, and it makes people smile instantly. I also love that it is giftable, like the crafty version of bringing someone cookies. And if your keyring is currently a sad clump of metal, this little alien kitty fixes that mood fast. 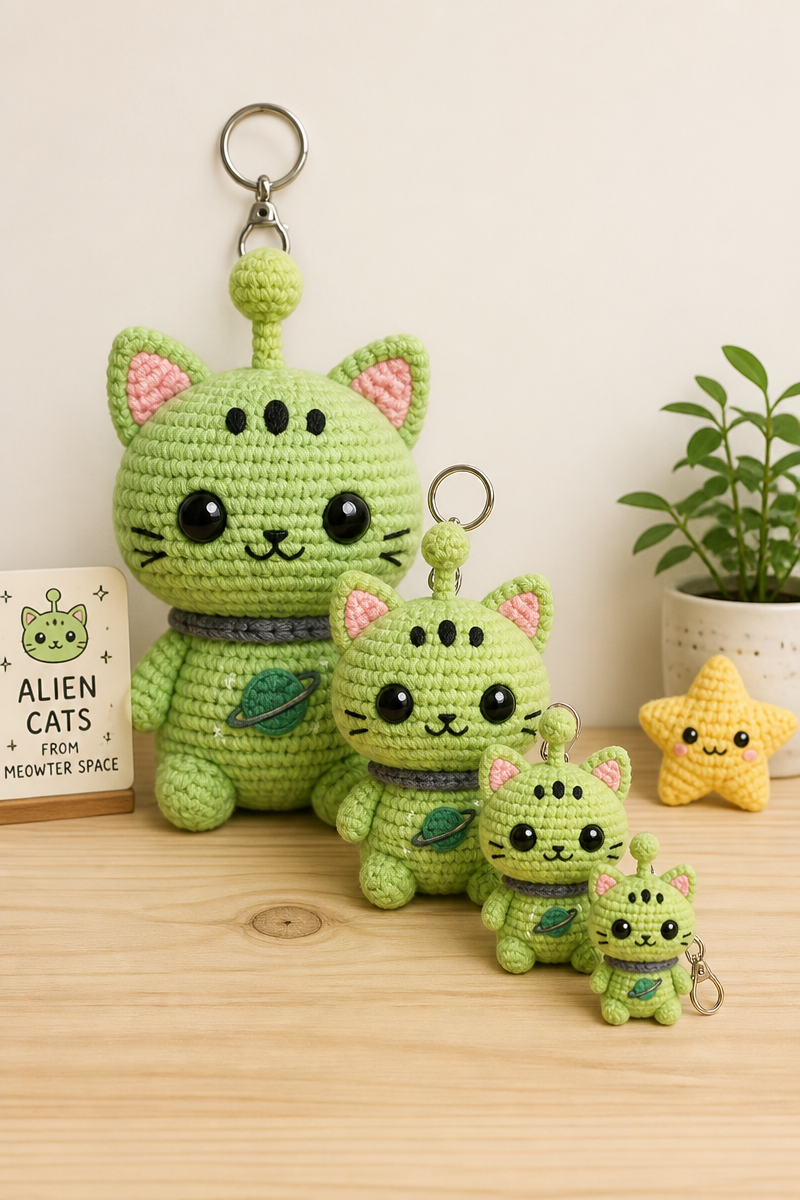
Why I keep making this Crochet Green Alien Cat Amigurumi Keychain
I am a casual food blogger, so my brain is always thinking in snack sized wins. This Crochet Green Alien Cat Amigurumi Keychain is basically the crafting equivalent of a 15 minute treat. It is tiny, it is cute, and it is a conversation starter when it dangles from your bag or keys.
The green alien part is my favorite because you can go bright neon, soft mint, or even a dusty pistachio vibe. And the cat part makes it feel cozy and familiar, even if you give it funny little antennae. Also, let us be real, if you mess up one stitch, nobody notices because it is a whimsical alien cat. That is very forgiving energy.
If you are newer to making plushies, I would seriously recommend reading a beginner friendly walkthrough first. I have sent a bunch of friends to this page because it explains the basics in a calm, non intimidating way: amigurumi for beginners.
Last thing, this project is great for using up leftover yarn. Like that one ball you bought for a single hat three winters ago. This is its moment.
What you will need (my simple shopping list)
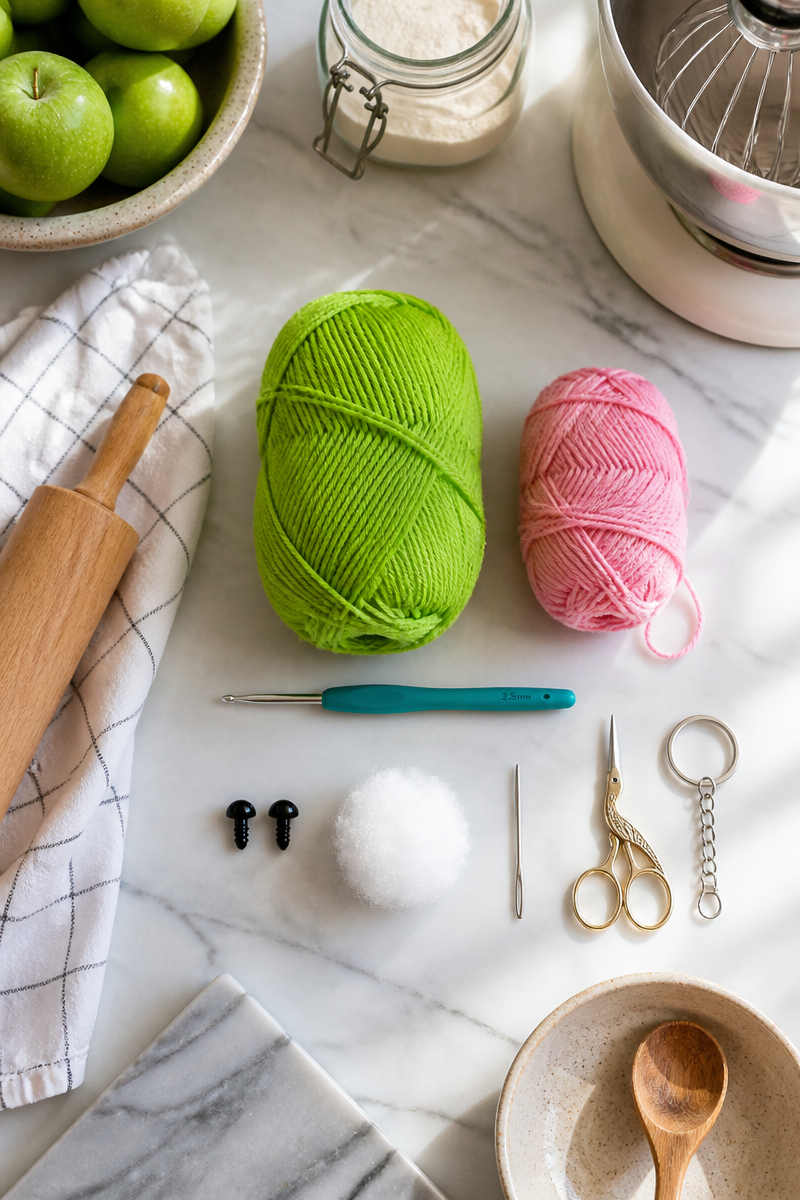
I am going to keep this practical, because nobody wants a 40 item supply list. Here is what I grab for a Crochet Green Alien Cat Amigurumi Keychain, plus a couple little extras that make it look polished.
- Yarn in green (worsted or DK works, just keep it consistent)
- Small amount of yarn in a contrast color (pink for ears, black for details, or white for eyes)
- Crochet hook sized to your yarn (usually 2.5 mm to 3.5 mm for tight stitches)
- Stuffing (polyfill, or tiny scraps in a pinch)
- Safety eyes (6 mm to 8 mm) or black yarn for stitched eyes
- Tapestry needle for sewing pieces together
- Scissors
- Keychain hardware like a split ring, lobster clasp, or swivel clip
- Optional: stitch marker, blush, or a tiny bit of felt
Quick tip from experience: if this is going on keys, I like stitched eyes better than safety eyes. Keys get tossed around, and I do not want anything popping loose. If you need a refresher on the core techniques like working in the round and tightening your loops, this is a helpful guide to keep open in another tab: beginner amigurumi guide.
And here is a little planning helper that makes the whole thing easier to size, especially if you swap yarn weights.
How I crochet and assemble the alien cat (no stress method)
This is the part that feels like following a cozy recipe. You are basically making a few small shapes, stuffing them like little dumplings, then stitching everything together.
The basic shape plan
I build mine in four main pieces: a round head, a small body, two ears, and two tiny arms. Then I add either a tail or little alien nubs depending on my mood. If you want antennae, you can make two skinny tubes and sew them on top, or just sew two little bumps. The bumps are faster and still adorable.
My personal method is to keep the head slightly bigger than the body because it gives that cute bobble look on a keychain. Also, tighter stitches matter here. If your stitches are loose, stuffing tries to peek out like it is photobombing your alien kitty.
Assembly tips that make it look clean
When I sew pieces on, I pin them first with whatever I have nearby. Sometimes that is actual sewing pins, sometimes it is spare stitch markers, sometimes it is just holding my breath and hoping. But pinning really helps you avoid crooked ears, which somehow makes the whole face look sad.
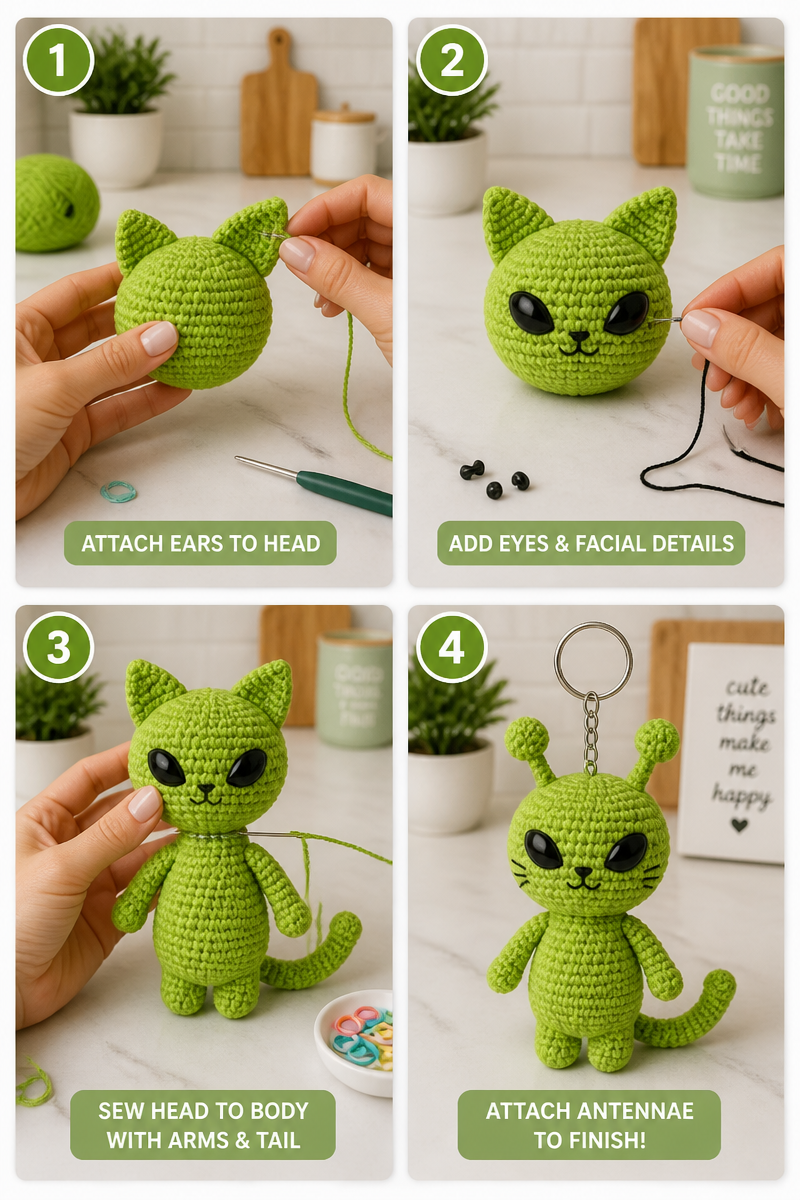
Here is the order that keeps me sane:
1. Attach ears to the head first.
2. Add eyes and facial details while the head is easy to hold.
3. Sew head to body, then add arms and tail.
4. Add antennae last so they do not get squished while you sew.
For the face, I like a tiny triangle nose and a short little mouth line. Nothing too fussy. You can also add tiny blush dots with a makeup blush or a pink pencil. It sounds silly, but it makes it look alive.
“I made one for my daughter’s backpack and now her friends are asking for their own. The little alien cat is weird in the best way, and the instructions were easy to follow.”
If you are the kind of person who likes extra hand holding for the basics like magic ring, increasing, and invisible decreases, this page is a solid support buddy: learn amigurumi basics. I swear, once you have those down, projects like this feel like muscle memory.
Keychain finishing touches so it survives real life
A keychain is not a shelf plush. It is going to live a rougher lifestyle. It will get tossed on counters, shoved in pockets, and maybe dropped in a grocery store parking lot. So I like to do a few things to make my Crochet Green Alien Cat Amigurumi Keychain hold up.
Hardware that actually stays put
I prefer a swivel clasp because it feels sturdy and it is easy to clip to bags. To attach it, you can do one of these:
Option 1: Crochet a small loop at the top of the head and slip the ring through it.
Option 2: Sew a loop of yarn through the top, knot it securely inside the head, and attach the hardware to that loop.
Option 3: Use a jump ring and a small eye pin if you are into jewelry making.
My best tip is to knot like you mean it, then hide the knot inside the head with your needle. If you have ever had a keychain charm fall off, you know the heartbreak. This is how you prevent that.
Also, if you are gifting it, add a tiny tag or a little note. I know that sounds extra, but it makes it feel like a real present instead of a random cute thing you made at midnight.
Common Questions
How big should a Crochet Green Alien Cat Amigurumi Keychain be?
I aim for 2.5 to 4 inches tall. Big enough to show details, small enough to not feel bulky on keys.
Can I make it without safety eyes?
Yes, and for keychains I actually prefer it. Stitch eyes with black yarn or embroider sleepy eyes for a softer look.
What yarn is best if I want it to look neat?
A smooth acrylic or cotton blend is easiest to see stitches and holds shape well. Fuzzy yarn looks cute, but it hides mistakes and can be harder to sew.
How do I stop the stuffing from showing?
Use a slightly smaller hook than the yarn label suggests and keep tension snug. Stuff slowly, and do not overfill the head.
Can I wash it if it gets dirty?
Hand wash in cool water with a tiny bit of gentle soap, then press in a towel and air dry. If it has metal hardware, do not soak it forever.
A cozy little send off (and yes, you should make one)
If you want a quick project that feels like a treat, a Crochet Green Alien Cat Amigurumi Keychain is such a fun one to crank out in an evening. Keep your stitches tight, take a minute to place the face neatly, and secure that keychain hardware like it is going on a space mission. When you are ready to branch out, I love browsing Amigurumi.com for fresh ideas, and it is also kind of fun to read the background on Amigurumi – Wikipedia just to see how this whole craft became a thing. Now go pick your green yarn, make it a little silly, and clip that tiny alien cat onto your keys like a good luck charm.