How to Make the Juiciest Air Fryer Shrimp That’ll Wow Everyone!
Every time I make this Air Fryer Shrimp, it reminds me of warm summer evenings spent by the coast, with the salty breeze ruffling my hair as I enjoy a meal with friends and family. The sound of laughter and the smell of beautifully cooked shrimp sizzling on the grill—those moments are pure magic. And the best part? You can recreate that same joy in your own kitchen in less than 10 minutes! Trust me, once you try this recipe, you’ll feel like a culinary superstar.
Today, I want to take you on a flavorful journey where I’ll share not only how to make these delicious shrimp but also sprinkle in a few personal insights and tips along the way. So, grab your apron, and let’s get cooking!
Ingredients
Here’s what you’ll need to whip up this scrumptious dish. I always emphasize the importance of using quality ingredients; they truly make all the difference.
| Ingredient | Amount |
|---|---|
| Frozen shrimp | 1 pound |
| Olive oil | 1 tablespoon |
| Garlic powder | 1 teaspoon |
| Paprika | 1 teaspoon |
| Salt and pepper | To taste |
| Lemon wedges | For serving |
Personal note: I love adding a pinch of cayenne pepper for a little kick—it really elevates the flavors!
Why I Love Making This Dish
What I adore about this Air Fryer Shrimp is its simplicity and speed. Life gets busy, and sometimes, we don’t have hours to spend in the kitchen. With this recipe, you can have a healthy and mouthwatering meal ready almost instantly. Plus, shrimp is packed with protein and has that sweet, delicate flavor that everyone enjoys.
What You’ll Need
Before diving in, let’s gather a few essential tools:
- Your trusty air fryer (the secret to that perfect crispiness!)
- A mixing bowl to toss everything together
- A measuring spoon for accuracy
- A spatula or tongs for easy handling
Now that we have our ingredients and tools, let’s hop right into the cooking process!
Step-by-Step Guide
Step 1: Preheat Your Air Fryer
First things first, preheat your air fryer to 400°F (200°C). This step is key for achieving that crispy texture we all crave. I’ve made the mistake of skipping this before, and let me tell you, it’s just not the same!
Step 2: Prepare the Shrimp
In a mixing bowl, toss your frozen shrimp with 1 tablespoon of olive oil. The oil not only helps the spices stick but enhances the overall flavor. Trust me, this is important!
Step 3: Season to Perfection
Now, sprinkle in your garlic powder, paprika, salt, and pepper. I really enjoy the warmth of paprika; it adds color and a subtle smoky flavor that makes every bite delicious. Use your hands to mix everything until the shrimp are evenly coated. It’s okay if they’re frozen; the air fryer will do its magic!
Step 4: Load the Air Fryer Basket
Carefully place the seasoned shrimp into the air fryer basket in a single layer. Don’t overcrowd them! You want each shrimp to get that airy circulation to cook evenly. If you have a small air fryer, you can do this in batches.
Step 5: Cook the Shrimp
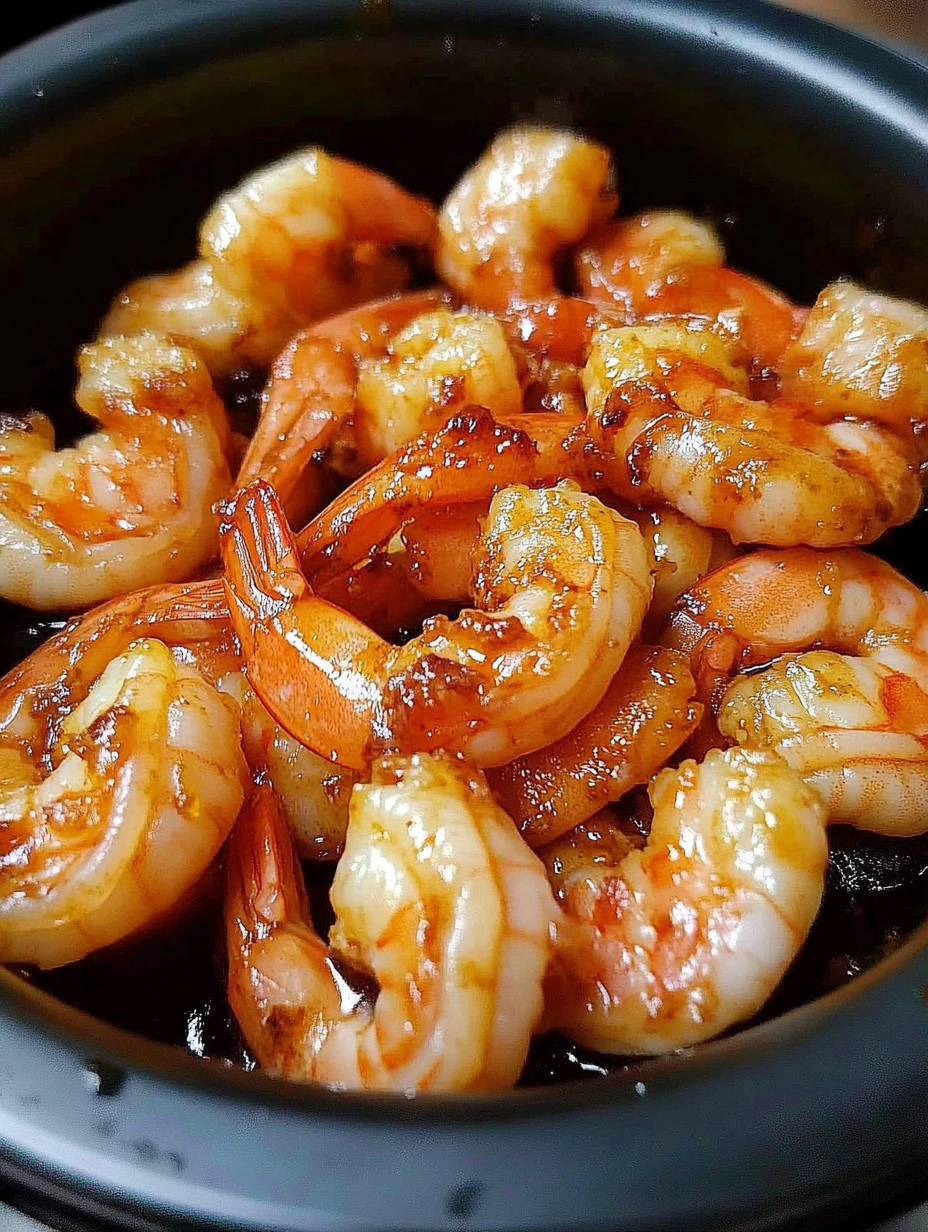
Cook the shrimp for about 8-10 minutes. Halfway through, give the basket a gentle shake. This ensures they’re evenly cooked and crispy on all sides. You’ll know they’re done when they turn pink and start to curl up slightly. Oh, the aroma at this point is just heavenly!
Step 6: Serve Hot
Once cooked, remove the shrimp from the air fryer and serve them right away with fresh lemon wedges. Squeezing a little lemon juice over the shrimp brightens everything up and makes each bite a burst of flavor!
Tips for Perfect Results
- If you want an extra layer of flavor, try marinating your shrimp in advance for about 30 minutes using the olive oil and spices. It’s a game-changer!
- Make sure to keep an eye on the shrimp as they cook; every air fryer is different, and you want to catch them at their prime.
- Consider pairing them with a side of garlic butter or a zesty dipping sauce for even more deliciousness.
Serving Suggestions and Sides
This shrimp dish is perfect on its own, but if you’re looking to make it a full meal, consider serving it alongside:
- A fresh garden salad
- Zesty coleslaw
- Steamed vegetables
- Fluffy white rice or quinoa to soak up the flavors
Take the time to enjoy this meal with your loved ones. Trust me, once they take a bite, they’ll be asking for the recipe!
Leftovers
If you happen to have any leftovers (which is rare because they’re so good!), store them in an airtight container in the refrigerator. They’ll last about 2 days. When you’re ready to enjoy them again, simply pop them back in the air fryer for a few minutes to reheat; they’ll be just as tasty!
FAQ Section
Can I use fresh shrimp instead of frozen?
Absolutely! Fresh shrimp will work perfectly; just be sure to adjust cooking time accordingly as they’ll cook faster.
Do I need to thaw the shrimp first?
Nope! One of the beauties of this recipe is that you can cook them straight from frozen. It saves you time and effort!
Can I substitute other seasonings?
For sure! Feel free to experiment with your favorite spices, like cajun seasoning or even a sprinkle of Italian herbs. Just remember not to overdo it!
Conclusion
This Air Fryer Shrimp has become a staple in my household, and I couldn’t be more excited to share it with you. The ease, flavor, and speed at which you can whip it up are just unbeatable! I promise you, once you try this recipe, it’s going to be a go-to for quick dinners or even casual gatherings with friends.
I can’t wait for you to experience the joy of making this dish. It’s simple, satisfying, and utterly delicious! Let me know how your cooking adventure goes, and if your family loves it as much as mine does—because trust me, they will be begging for seconds!
Air Fryer Shrimp
Ingredients
Shrimp Ingredients
- 1 pound Frozen shrimp Use quality frozen shrimp
- 1 tablespoon Olive oil Enhances flavor and helps spices stick
- 1 teaspoon Garlic powder
- 1 teaspoon Paprika Adds smoky flavor
- To taste Salt and pepper
For Serving
- 1 wedge Lemon wedges For serving; brightens up the dish
Instructions
Preparation
- Preheat your air fryer to 400°F (200°C).
- In a mixing bowl, toss the frozen shrimp with 1 tablespoon of olive oil.
- Sprinkle in the garlic powder, paprika, salt, and pepper. Mix until shrimp are evenly coated.
Cooking
- Carefully place the seasoned shrimp into the air fryer basket in a single layer, ensuring not to overcrowd.
- Cook the shrimp for about 8-10 minutes, shaking the basket halfway through for even cooking.
- Remove shrimp once they turn pink and curl slightly. Serve immediately with lemon wedges.