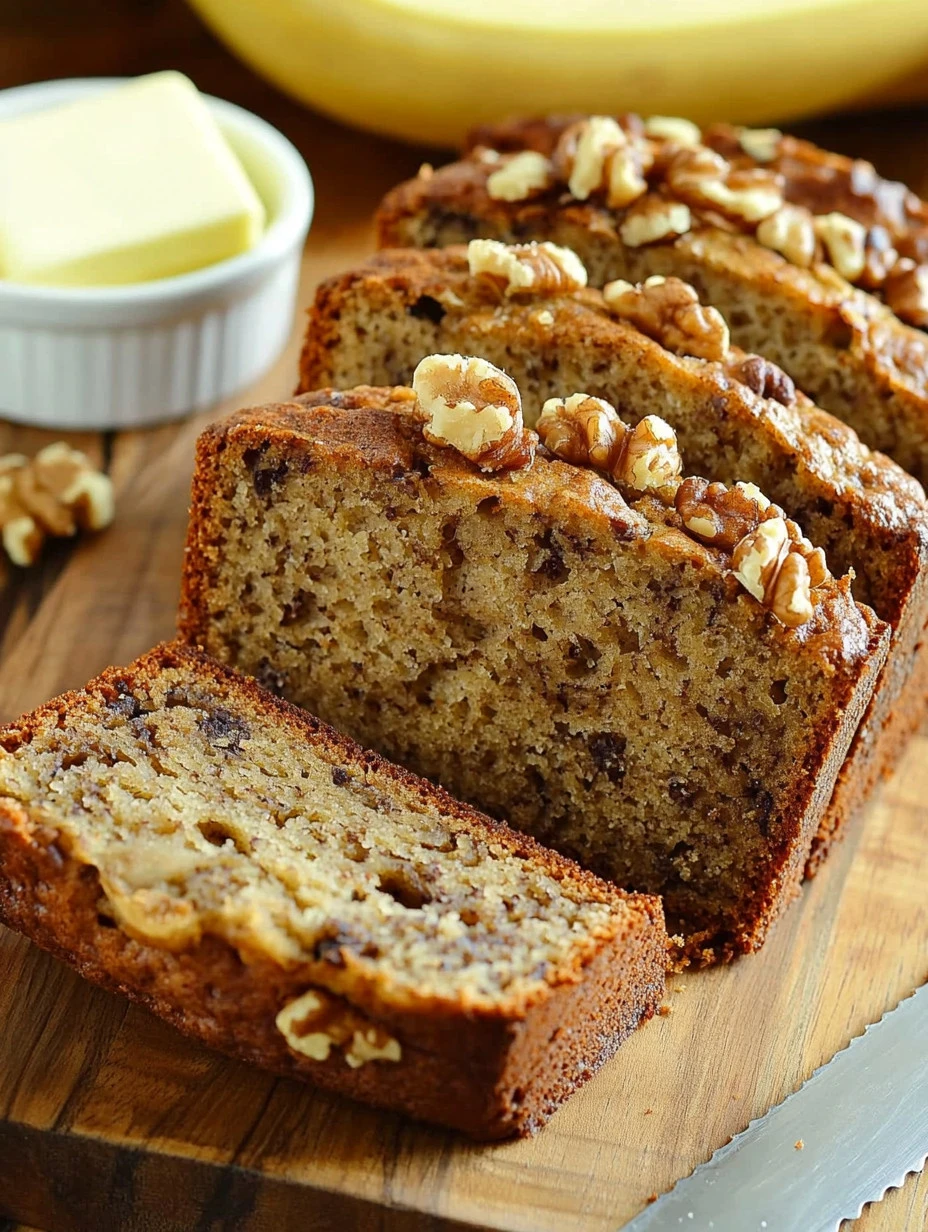
Every time I make this Banana Nut Bread, it reminds me of those cozy afternoons spent in the kitchen with my grandmother. The smell of warm bananas mingling with buttery walnuts fills the air, evoking memories of sweet laughter and lovely chats over steaming cups of tea. There’s something so comforting and nostalgic about baking with simple, wholesome ingredients, isn’t there? I remember how my grandma would always have a fresh loaf waiting for us whenever we visited, and I can still see the smile on her face as we dug into that delicious bread. You know, when you take a bite, it’s like being wrapped in a warm hug. I promise, once you try this recipe, you’ll feel that same warmth and comfort that I cherish!
Now, let’s dive into how to make your own Banana Nut Bread. With just a few easy ingredients and steps, you can create a loaf that not only brings joy to your home but also fills it with delightful aromas.
Ingredients:
- 3 ripe bananas: The riper, the better! Look for bananas with brown spots. They’re sweeter and mash beautifully.
- 1/3 cup melted butter: This gives the bread a rich flavor and moist texture.
- 1 cup sugar: A sweetness that balances the tartness of the bananas. You can also use brown sugar for a deeper flavor.
- 1 egg, beaten: This will help bind everything together.
- 1 teaspoon vanilla extract: A hint of vanilla elevates the flavor.
- 1 teaspoon baking soda: This is your leavening agent, helping the bread rise.
- Pinch of salt: Just a little to enhance all the flavors.
- 1 1/2 cups all-purpose flour: The base for your bread.
- 1/2 cup chopped walnuts: A must-have for that crunchy texture. Feel free to substitute with pecans or leave them out if you prefer.
- 1/2 teaspoon ground cinnamon: This adds a warm spiciness that’s simply delightful.
Now you have your ingredients all lined up and ready to go! Let’s move on to the cooking steps, where I’ll share my personal tips to create the perfect loaf.
Step-by-Step Guide:
-
Preheat your oven to 350°F (175°C): Trust me, this is key to ensuring your bread bakes evenly.
-
Mash the bananas: In a mixing bowl, add your ripe bananas and use a fork to mash them until smooth. You want a nice, creamy consistency. The more you mash, the more flavors blend!
-
Stir in the melted butter: Add the melted butter to your mashed bananas. Mix it well, so the bananas absorb the buttery goodness.
-
Add sugar, egg, and vanilla: Next, stir in 1 cup of sugar, your beaten egg, and 1 teaspoon of vanilla extract. Mix until everything is combined. The mixture will start to look lovely and glossy.
-
Sprinkle in the baking soda and salt: Toss in 1 teaspoon of baking soda and a pinch of salt. Give it a gentle mix, and feel free to comment on how amazing it smells already!
-
Incorporate the flour: Now, add 1 1/2 cups of all-purpose flour. Fold it in gently; we don’t want to overmix it. Just stir until you can’t see any dry flour.
-
Toss in the walnuts and cinnamon: Here’s where the magic happens! Add your 1/2 cup of chopped walnuts and 1/2 teaspoon of ground cinnamon. Mix just until evenly distributed.
-
Pour into a loaf pan: Grab a greased 4×8 inch loaf pan and pour your batter into it. Smooth the top gently with a spatula.
-
Bake for 60-65 minutes: Pop your pan in the preheated oven and set a timer! The loaf is done when a toothpick inserted in the center comes out clean.
-
Let it cool: Once you’ve taken it out of the oven, allow it to cool in the pan for about 10 minutes before transferring it to a wire rack. It’s tempting to slice into it right away, but trust me, giving it a moment to cool enhances the flavor.
Why I Love Making This Dish
What makes this Banana Nut Bread so special to me is the heart it shares. Baking isn’t just about creating food; it’s about creating memories, and this bread holds a special place in my heart. I remember sitting at the table with my beloved grandmother, and how proud I felt when she praised my baking. Even now, I feel that connection every time I mix the batter. Plus, there’s just something so satisfying about sharing a slice of warm bread with family and friends, knowing it came from your own hands.
What You’ll Need
You don’t need any fancy tools or gadgets for this recipe. A good mixing bowl, a fork for mashing, and a loaf pan are all you’ll need. I also recommend having a sturdy spatula handy for mixing and scraping down the sides of the bowl. Simple tools like these make the process feel approachable and enjoyable.
Tips for Perfect Results
Here are some personal tricks that I find helpful:
- To make the bread even more moist, you can replace some of the sugar with applesauce. It adds extra flavor and keeps the loaf tender.
- For a fun twist, try adding chocolate chips or dried fruits like cranberries for a delightful surprise.
- If you want a crustier top, consider baking it for an additional 5 minutes, but keep an eye on it to avoid over-browning.
Serving Suggestions and Sides
Banana Nut Bread is perfect on its own, but if you want to take it up a notch, you can serve it with a dollop of whipped cream or a smear of cream cheese. For brunch, it pairs beautifully with a fresh fruit salad or a warm bowl of oatmeal. I often enjoy a slice alongside my morning coffee, bringing a comforting start to my day.
Leftovers
If you find yourself with leftover Banana Nut Bread (which is rare in my house!), you can store it in an airtight container at room temperature for about 3-4 days. To enjoy it again, simply warm a slice in the microwave for about 10-15 seconds. You can also freeze it for longer storage—just wrap individual slices in plastic wrap and pop them in a freezer bag. It makes for a lovely treat later on!
Frequently Asked Questions
Can I use frozen bananas? Absolutely! In fact, I often use frozen bananas. Just let them thaw in your fridge overnight. They will be mushy, which makes for great mixing!
What if I don’t have walnuts? No worries at all! You can substitute them with pecans, almonds, or even leave them out entirely if you’re not a fan of nuts.
Can I make this recipe gluten-free? You can! Just swap out the all-purpose flour for your favorite gluten-free flour blend. Make sure the blend is designed for baking, and you should be all set.
How did I learn to make this Banana Nut Bread? Like many of you, I learned from my family traditions. My grandmother’s guidance and a few trial-and-error attempts in my own kitchen made me confident enough to share this recipe with you now.
This Banana Nut Bread has become a staple in my home, and I can’t wait for you to try making it yourself. I truly believe you’ll fall in love with how wonderfully it fills your house with warmth and sweetness. Each slice deserves to be savored, and I promise your family will be asking for seconds, just like mine always do! So gather your ingredients, preheat that oven, and let’s make some beautiful memories together in the kitchen. Happy baking, my dear friends!