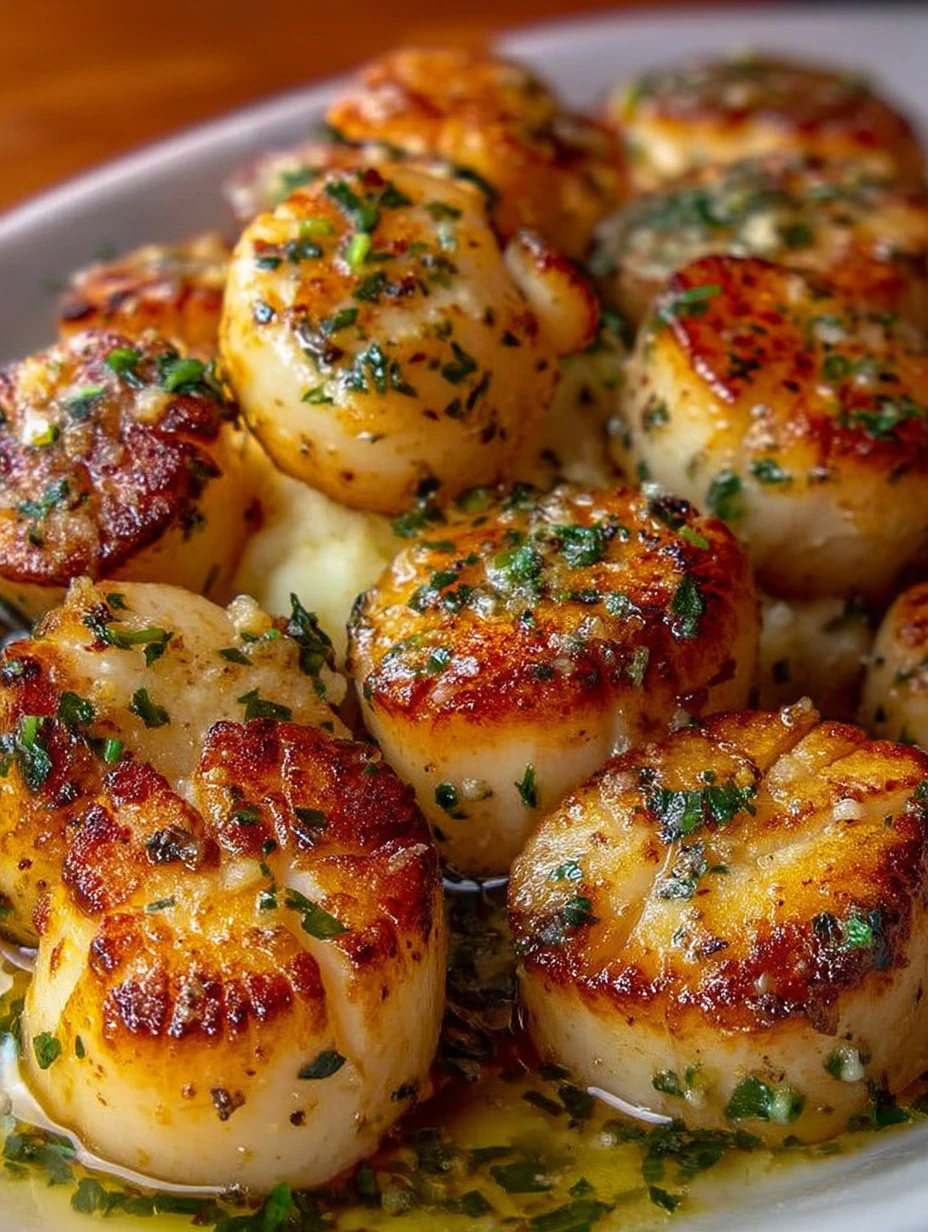
Why Make This Recipe
Garlic Butter Air Fryer Scallops are a delicious and easy dish to prepare. They are perfect for a quick weeknight dinner or a special occasion. The air fryer makes cooking scallops quick and allows for a crispy outside while keeping them tender inside. With the rich flavor of garlic butter, these scallops are sure to impress anyone at your table.
How to Make Garlic Butter Air Fryer Scallops
Ingredients:
- 1 pound scallops
- 4 tablespoons butter
- 4 cloves garlic, minced
- 1 tablespoon lemon juice
- Salt and pepper to taste
- Parsley for garnish
Directions:
- Preheat the air fryer to 400°F (200°C).
- In a small saucepan, melt the butter over low heat and add the minced garlic. Sauté for about 1-2 minutes until fragrant.
- In a bowl, combine the scallops, garlic butter mixture, lemon juice, salt, and pepper.
- Place the scallops in the air fryer basket in a single layer.
- Air fry for 8-10 minutes until the scallops are opaque and cooked through.
- Garnish with parsley before serving.
How to Serve Garlic Butter Air Fryer Scallops
Serve these scallops hot, garnished with fresh parsley. They pair well with rice, pasta, or a fresh salad. You can also serve them as an appetizer with toothpicks for easy eating.
How to Store Garlic Butter Air Fryer Scallops
If you have leftovers, place them in an airtight container in the fridge. They will stay fresh for up to 2 days. To reheat, place them back in the air fryer for a few minutes until warmed through.
Tips to Make Garlic Butter Air Fryer Scallops
- Make sure to dry the scallops with paper towels before cooking. This helps them sear properly.
- Don’t overcrowd the air fryer basket. Cook in batches if necessary for even cooking.
- Adjust the cooking time based on the size of your scallops. Larger ones may need a bit more time.
Variation
For added flavor, you can sprinkle some paprika or chili flakes on the scallops before cooking. You can also experiment by adding different herbs like thyme or rosemary.
FAQs
1. Can I use frozen scallops?
Yes, but make sure to thaw them completely and pat them dry before cooking.
2. How do I know when the scallops are done?
Scallops are done when they are opaque and firm to touch. They should also not be translucent.
3. Can I substitute olive oil for butter?
Yes, you can use olive oil instead of butter for a lighter version. Just keep in mind it will change the flavor slightly.

Garlic Butter Air Fryer Scallops
Ingredients
Main ingredients
- 1 pound scallops
- 4 tablespoons butter Unsalted butter is recommended.
- 4 cloves garlic, minced
- 1 tablespoon lemon juice
- to taste Salt
- to taste Pepper
- for garnish Parsley Fresh parsley for garnish.
Instructions
Preparation
- Preheat the air fryer to 400°F (200°C).
- In a small saucepan, melt the butter over low heat and add the minced garlic. Sauté for about 1-2 minutes until fragrant.
- In a bowl, combine the scallops, garlic butter mixture, lemon juice, salt, and pepper.
Cooking
- Place the scallops in the air fryer basket in a single layer.
- Air fry for 8-10 minutes until the scallops are opaque and cooked through.
Serving
- Garnish with parsley before serving.
