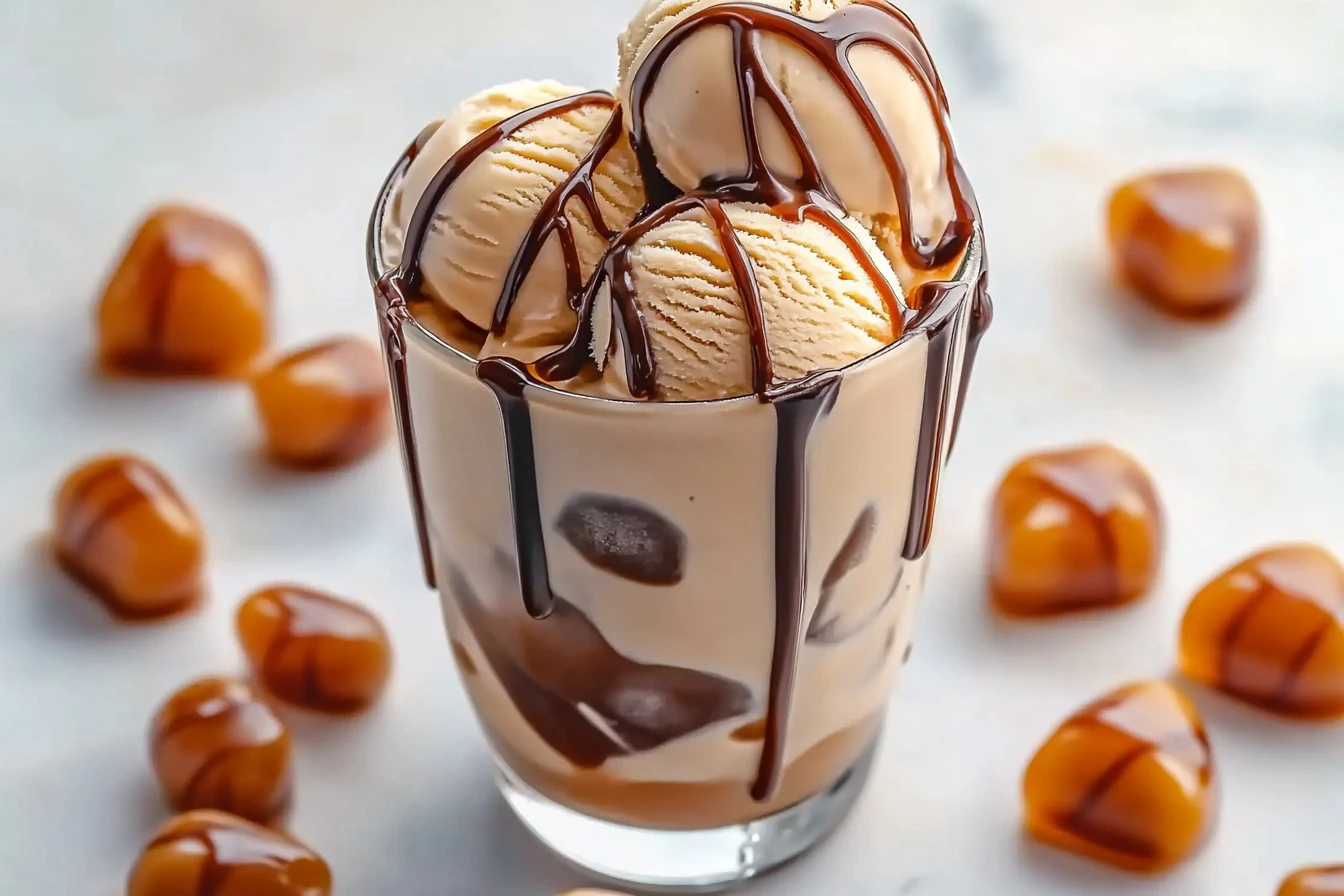
Every time I make Homemade Moose Tracks Ice Cream, it takes me back to warm summer evenings spent on the porch with my grandchildren. The laughter, the joy, and the sweet sounds of childhood fill the air as we scoop this creamy delight into our favorite bowls. It’s like taking a little trip down memory lane, where every spoonful brings back those cherished moments. I know that once you try this recipe, you too will feel that same warmth and comfort that only homemade ice cream can bring!
How to make Homemade Moose Tracks Ice Cream
Ingredients:
To create this delightful dessert, gather the following ingredients. Each one plays a vital role in making this ice cream as delicious as possible.
- 2 cups heavy cream – This is the heart and soul of your ice cream. The creaminess is what gives your ice cream that luscious texture we all love.
- 1 cup whole milk – The milk lightens up the heavy cream, making it rich but not overly dense.
- 3/4 cup granulated sugar – This sweetener is essential for balancing flavor and enhancing that irresistible sweetness.
- 1 tablespoon vanilla extract – This adds the warmth and aromatic flavor that is so comforting.
- A pinch of salt – Just a touch helps to really elevate the sweetness and enhance the flavors.
- 4 large egg yolks – These are crucial for creating a custard base, enriching the ice cream and making it decadently smooth.
- 1/2 cup peanut butter (creamy or crunchy) – You can’t have Moose Tracks without peanut butter! It adds both flavor and those wonderful, satisfying chunks.
- 1/2 cup chocolate fudge sauce – This is where the fun starts! It creates those magical swirls that make Moose Tracks so special.
- 1/2 cup mini peanut butter cups, chopped – Who doesn’t love a good crunch in their ice cream? These little treats add great texture and flavor!
Cooking Steps
-
Make the Ice Cream Base: Start by grabbing a medium saucepan and combining the heavy cream, whole milk, granulated sugar, and a pinch of salt. Heat over medium heat, stirring gently until the sugar dissolves. This mixture should feel warm to the touch, but remember—don’t let it boil!
-
Whisk the Egg Yolks: Meanwhile, whisk the egg yolks in a separate bowl until they’re nice and smooth. This step is essential for creating a creamy custard base.
-
Temper the Eggs: Gradually pour that warm cream mixture into the yolks while whisking continuously. This step is crucial because it helps bring the yolks up to temperature, preventing them from scrambling and ensuring a silky texture.
-
Cook the Mixture: Return your tempered mixture back to the saucepan. Cook on medium heat, stirring constantly until it thickens just enough to coat the back of a spoon—this should take about 5 to 7 minutes.
-
Strain and Cool: Once it thickens, remove it from the heat and strain it through a fine mesh sieve into a bowl to get rid of any lumps. Stir in the vanilla extract and let the mixture cool. I usually cover it and pop it in the fridge for about 4 hours or even overnight for the best results.
-
Churn the Ice Cream: When you’re ready to churn, pour the chilled ice cream base into your ice cream maker and churn according to the manufacturer’s instructions—this usually takes around 20 to 25 minutes. In the last few minutes of churning, add those chopped mini peanut butter cups. Trust me, it adds an amazing texture and flavor.
-
Swirl in the Moose Tracks: Now, this part is so much fun! Transfer your churned ice cream to a mixing bowl or a suitable container. With a spoon or spatula, gently swirl in the peanut butter and chocolate fudge sauce. The goal is to create those beautiful ribbons without fully mixing them—this is what gives it that signature Moose Tracks style.
-
Freeze the Ice Cream: Cover the container with a lid or plastic wrap and place it in the freezer for at least 4 hours or overnight. This ensures that it’s nice and firm when you’re ready to scoop.
-
Serve and Enjoy: When the moment comes to serve, scoop the ice cream into bowls or cones and enjoy every creamy, fudgy, and crunchy bite. You’re going to love how it melts in your mouth!
Why I Love Making This Dish
This Homemade Moose Tracks Ice Cream holds a special place in my heart because it represents family, warmth, and cherished moments. I remember the first time I made it for my grandchildren. Their eyes lit up at the sight of the ice cream and they couldn’t wait to dig in. The way their faces lit up with joy brought me so much happiness, and it’s a memory I treasure dearly. Whenever I make it, I know it’s not just about ice cream; it’s about creating connections and sharing smiles.
As for the special tools, you don’t need much! I always recommend having a good ice cream maker on hand. It doesn’t have to be fancy; even a simple one will do the trick. Other than that, a medium saucepan and a whisk will be your best friends in this recipe.
Tips for Perfect Results
-
Chill Your Ingredients: The cooler your ingredients are before you start, the easier it is to churn your ice cream. It helps achieve a smoother texture.
-
Avoid Boiling: When heating the cream mixture, make sure it doesn’t come to a boil. Keeping the temperature steady ensures a creamy base.
-
Customize the Mix-ins: Feel free to add your favorite candy or nuts! A little creativity goes a long way, and you can make this recipe your own.
-
Give It Time: Letting the ice cream base chill overnight really makes a difference. The flavors meld together beautifully, and the ice cream texture is just perfect.
Serving Suggestions and Sides
This ice cream is delightful on its own, but if you’re looking to jazz up your dessert experience, consider pairing it with a slice of warm chocolate cake or a piece of freshly baked pie. The contrast between warm and cold is always a hit! You could also sprinkle a little extra chopped peanut butter cups on top for presentation and added flavor.
Leftovers
If you happen to have any leftovers (which is rare in my house!), just store the ice cream in an airtight container in the freezer. When you’re ready to indulge again, let it sit out for a few minutes to soften slightly before scooping. I promise, you’ll want to savor every last bite!
FAQ Section
Can I use low-fat milk?
While you can, I must say the taste and texture might not be the same. The heavy cream and whole milk work together to make it rich and creamy, and that’s what you want in a dessert like this!
Can I make it without an ice cream maker?
Absolutely! Just pour the mixture into a freezer-safe container and stir it every 30 minutes for the first few hours to help create a smoother texture. It requires a bit more hands-on time, but it’s definitely doable!
How long does it last in the freezer?
Homemade ice cream is best enjoyed within a couple of weeks for the best flavor and texture, but it can last up to a month in the freezer if stored properly.
Conclusion
Homemade Moose Tracks Ice Cream has become a beloved favorite in my household, and I am so excited for you to try it out! I know you’ll love it just as much as I do. The delicious blend of creamy ice cream, swirls of fudgy chocolate, and crunchy peanut butter cups will definitely put a smile on your face. So gather your ingredients and make this delightful treat today! And please, let me know how it turns out for you—I’m always eager to hear about your experiences and see if your family enjoys it as much as mine. Happy scooping!
Homemade Moose Tracks Ice Cream
Ingredients
Ice Cream Base
- 2 cups heavy cream Essential for the creamy texture.
- 1 cup whole milk Lightens the heavy cream.
- 3/4 cup granulated sugar Balances flavor and sweetness.
- 1 tablespoon vanilla extract Adds warmth and aromatic flavor.
- a pinch salt Enhances sweetness and flavors.
- 4 large egg yolks Creates a rich custard base.
Mix-ins
- 1/2 cup peanut butter Can be creamy or crunchy.
- 1/2 cup chocolate fudge sauce Creates magical swirls.
- 1/2 cup mini peanut butter cups, chopped Adds texture and flavor.
Instructions
Preparation
- In a medium saucepan, combine heavy cream, whole milk, granulated sugar, and a pinch of salt. Heat over medium, stirring gently until sugar dissolves. Do not allow it to boil.
- Whisk egg yolks in a separate bowl until smooth.
- Gradually pour the warm cream mixture into the yolks, whisking continuously to temper the eggs.
- Return the tempered mixture to the saucepan and cook on medium heat, stirring until it thickens enough to coat the back of a spoon, about 5 to 7 minutes.
- Strain the mixture through a fine mesh sieve into a bowl to remove lumps. Stir in vanilla and cool in the fridge for about 4 hours or overnight.
Churning and Freezing
- Pour the chilled ice cream base into an ice cream maker and churn according to the manufacturer's instructions, around 20 to 25 minutes. Add chopped mini peanut butter cups in the last few minutes.
- Transfer churned ice cream to a container. Gently swirl in peanut butter and chocolate fudge sauce.
- Cover and freeze for at least 4 hours or overnight.
Serving
- Scoop the ice cream into bowls or cones and enjoy.