Every time I make these Peppermint Chocolate Thumbprint Cookies, it brings me right back to the snowy days of my childhood. I can still hear the laughter of my siblings as we gathered around the kitchen table with our Mom, eagerly anticipating the sweet creations coming out of the oven. As the smell of chocolate wafted through the house, I remember feeling that immense warmth and excitement that only freshly baked cookies could bring. The mere sight of these beautiful cookies, topped with a minty peppermint kiss, fills my heart with joy and nostalgia. I know that once you make these delightful treats for your family, you’ll feel that same love and happiness blossom in your kitchen!
Let’s dive into making these enchanting Peppermint Chocolate Thumbprint Cookies together. You only need a handful of simple ingredients, and I’m here to guide you every step of the way. Trust me, the joy of watching your loved ones savor these cookies while recounting fond memories will make the effort so worth it!
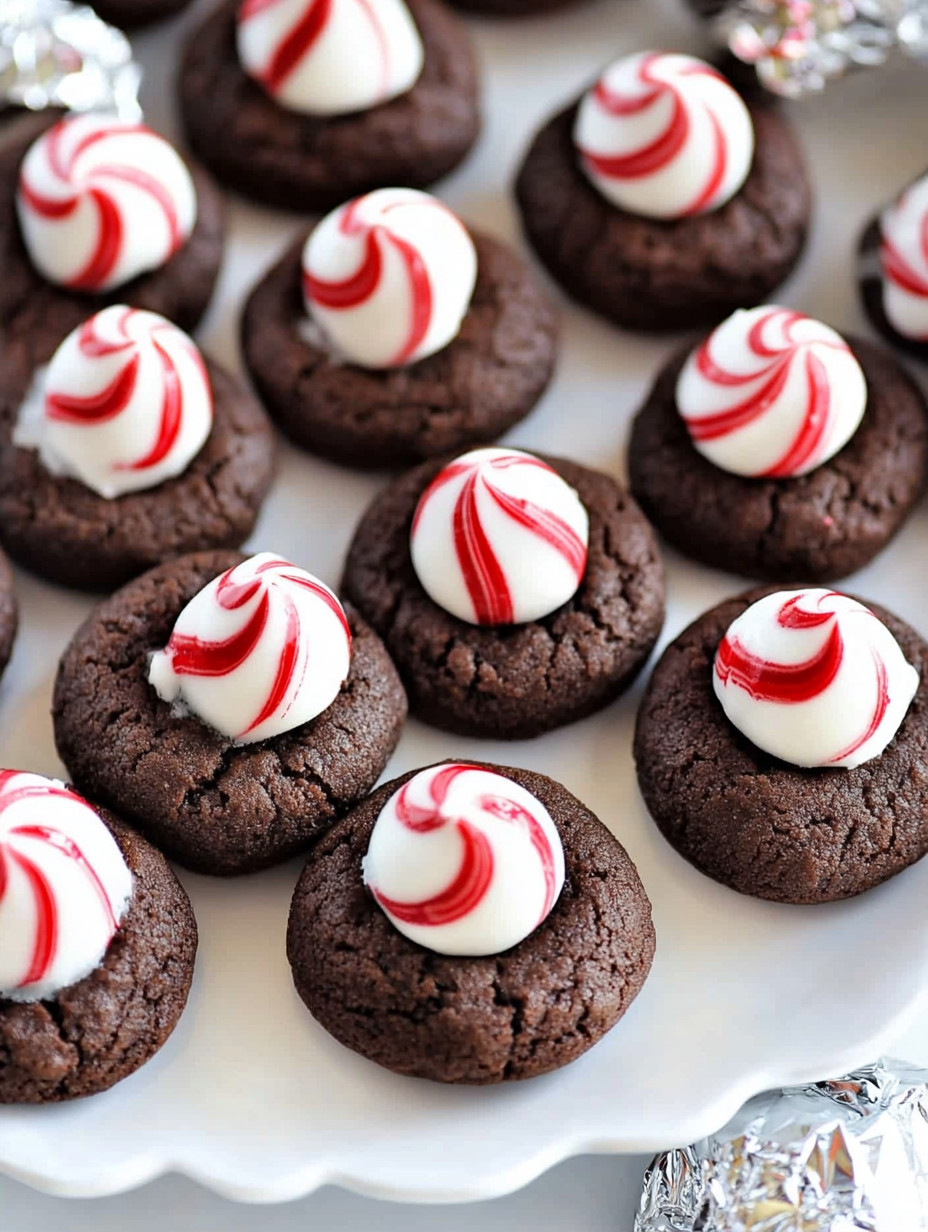
How to Make Peppermint Chocolate Thumbprint Cookies
Ingredients:
- 1 cup unsalted butter, softened: The base of any good cookie! Soft butter ensures the cookies are tender and melt-in-your-mouth delicious.
- 1 cup granulated sugar: This sweetener provides the right amount of sweetness to balance out the chocolate flavor.
- 1 cup brown sugar, packed: Brown sugar adds moisture and a lovely caramel-like flavor to the cookies.
- 2 large eggs: Eggs act as a binding agent, bringing all the ingredients together beautifully.
- 1 teaspoon vanilla extract: A touch of vanilla enhances the sweet, aromatic experience of your cookies.
- 3 cups all-purpose flour: The backbone of your cookie, providing structure for that perfect chewy texture.
- 3/4 cup unsweetened cocoa powder: This is where the chocolate magic happens! Cocoa powder adds that deep, rich flavor we all love.
- 1 teaspoon baking powder: A little leavening agent helps the cookies rise, resulting in a delightful texture.
- 1/2 teaspoon salt: Just a pinch! Salt intensifies the flavors and balances out the sweetness.
- 1 cup white chocolate chips: These little gems are the star of the show, giving your cookies a creamy finish.
- Peppermint kisses (for topping): The cherry on top! Each cookie deserves a delightful burst of peppermint flavor, and these kisses do the trick perfectly.
I personally love experimenting with different types of chocolate in my recipes. If you’re feeling adventurous, try adding some dark chocolate chips instead of white!
Now, let’s work through the baking process. Grab your apron, and let’s get cooking!
- Preheat your oven to 350°F (175°C). Trust me, this is a key step to ensure those cookies come out perfectly cooked—not underdone or overcooked.
- In a large bowl, cream together the softened butter, granulated sugar, and brown sugar until light and fluffy. I always feel like this step is the heart of cookie making! If you have a stand mixer, it will save your arms, but a handheld mixer works just as well.
- Add in the eggs, one at a time, and mix in the vanilla extract. Don’t rush this step; take your time to blend those eggs well—doing so creates a wonderful, smooth batter.
- In a separate bowl, whisk together the flour, cocoa powder, baking powder, and salt. This helps to combine the dry ingredients evenly, creating a great texture in your cookies.
- Gradually add the dry ingredients to the wet ingredients, mixing until combined. I like to do this slowly to avoid flour clouds!
- Scoop tablespoon-sized amounts of dough and roll them into balls. This is where the mess (and fun) begins! Remember, they don’t need to be perfect; it’s all about the homey feel.
- Place them on a baking sheet lined with parchment paper. This ensures easy cleanup, and the cookies won’t stick to the tray.
- Use your thumb to create an indentation in the center of each cookie. I find this step not only helps hold the peppermint kiss but also gives each cookie a warm and welcoming look.
- Bake for 10-12 minutes. As they bake, your kitchen will fill with that nostalgic smell of chocolate and mint.
- Remove from the oven and press a peppermint kiss into the center of each cookie. This is my favorite moment. Watching the candies slightly melt and blend into that warm cookie is pure joy!
- Allow the cookies to cool completely on a wire rack. Take a moment to step back and appreciate your beautiful, festive creations.
Why I Love Making This Dish: Making Peppermint Chocolate Thumbprint Cookies brings back so many cherished memories for me. I remember how we’d bake them during the holiday season, sharing them with neighbors and friends. It was a way to spread love and joy, and I continue that tradition with my family today. The smile on my grandchildren’s faces when they bite into these delightful treats fuels my passion for baking, and I know you’ll love making them as much as I do!
What You’ll Need: The only special tool you’ll need is a good baking sheet and parchment paper. If you have a cookie scoop, it’ll make your life a lot easier!
Step-by-Step Guide:
- Prepare your ingredients. Having everything measured and ready will make the process smoother.
- Preheat the oven. Don’t forget—this is vital for perfect cookies!
- Cream the butter and sugars. You want it light and fluffy; this step will ensure the cookies are tender.
- Add the eggs and vanilla, making sure they are fully incorporated.
- Mix the dry ingredients together in a separate bowl for even distribution.
- Combine the two mixtures gradually. This will prevent overwhelming your mixing bowl.
- Scoop, roll, and place on the baking sheet. Feel free to let your creativity shine during this step!
- Create those thumbprint indents—don’t be shy!
- Bake and enjoy the smell wafting through your home!
- Press a peppermint kiss in each cookie as they come out of the oven.
- Allow to cool and admire your work!
Tips for Perfect Results: For an extra layer of flavor, try adding crushed peppermint candy to the cookie batter, or even sprinkle it on top of the kisses while they’re still warm. It adds a wonderful crunch and even more peppermint flavor! Also, make sure your butter is softened but not melted for the best texture.
Serving Suggestions and Sides: These cookies are absolutely delightful on their own, but if you’re planning a festive gathering, I often serve them alongside a warm mug of hot chocolate or a scoop of peppermint ice cream. The combination is simply heavenly!
Leftovers: If you have any cookies leftover (which is rare in my house!), they can be stored in an airtight container at room temperature for several days. If you want to keep them longer, pop them in the freezer—just be sure to separate the layers with parchment paper so they don’t stick together. When you’re ready to indulge again, simply thaw them at room temperature!
FAQ Section:
Can I use margarine instead of butter?
While you can, I always recommend sticking to unsalted butter for the best flavor and texture. Trust me, it makes a difference!
Can I use a different kind of chocolate kiss?
Absolutely! While the peppermint kisses are a festive touch, you can mix things up with milk chocolate or dark chocolate kisses if you’d like—whatever makes your heart sing!
What’s the best way to store these cookies?
Store them in an airtight container at room temperature, away from direct sunlight. They’ll stay fresh for about a week, although I bet they won’t last that long!
I truly hope you find joy in making these Peppermint Chocolate Thumbprint Cookies. This simple yet delicious treat has a way of bringing everyone together, filling the kitchen with warmth and happiness. Once you’ve baked these fabulous cookies, I can’t wait to hear how lovely they turned out for you. Maybe your family will ask for seconds, just like mine does every time. Happy baking!

Peppermint Chocolate Thumbprint Cookies
Ingredients
Cookie Base
- 1 cup unsalted butter, softened Soft butter ensures tender cookies.
- 1 cup granulated sugar Provides sweetness to balance the chocolate.
- 1 cup brown sugar, packed Adds moisture and caramel-like flavor.
- 2 large eggs Acts as a binding agent.
- 1 teaspoon vanilla extract Enhances the sweetness.
- 3 cups all-purpose flour Provides structure to the cookie.
- 3/4 cup unsweetened cocoa powder Adds rich chocolate flavor.
- 1 teaspoon baking powder Helps cookies rise.
- 1/2 teaspoon salt Balances sweetness.
- 1 cup white chocolate chips Provides a creamy finish.
Toppings
- 24 pieces peppermint kisses For topping each cookie.
Instructions
Preparation
- Preheat the oven to 350°F (175°C).
- In a large bowl, cream together the softened butter, granulated sugar, and brown sugar until light and fluffy.
- Add in the eggs, one at a time, and mix in the vanilla extract.
- In a separate bowl, whisk together the flour, cocoa powder, baking powder, and salt.
- Gradually add the dry ingredients to the wet ingredients, mixing until combined.
- Scoop tablespoon-sized amounts of dough and roll them into balls.
- Place them on a baking sheet lined with parchment paper.
- Use your thumb to create an indentation in the center of each cookie.
Baking
- Bake for 10-12 minutes.
- Remove from the oven and press a peppermint kiss into the center of each cookie.
- Allow the cookies to cool completely on a wire rack.