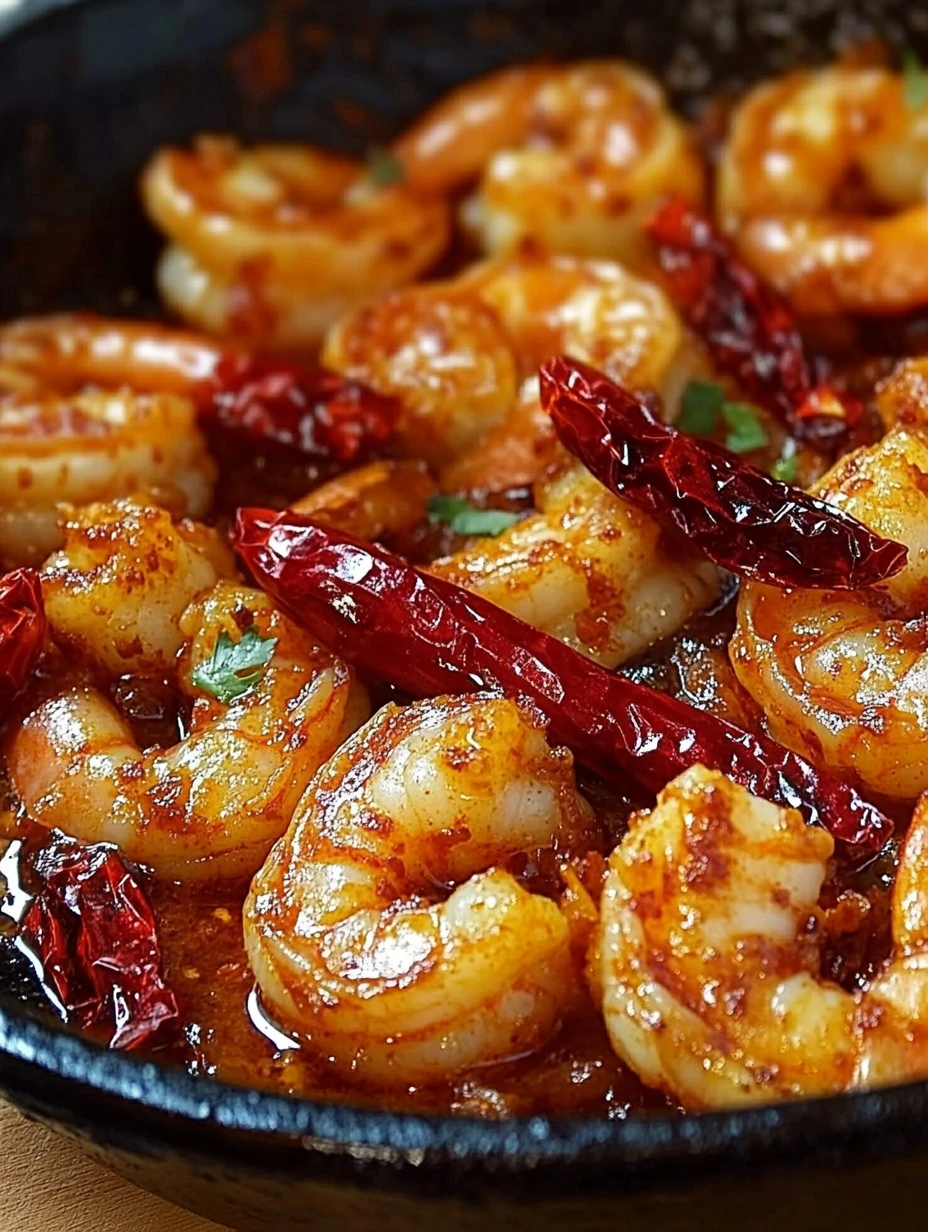
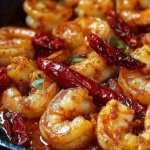
Every time I make this Garlic Butter Shrimp recipe, it brings back memories of warm summer evenings spent with family on the porch, the sun setting gently in the west. The smell of the shrimp sautéing in garlic and butter fills the air, pulling everyone into the kitchen, where laughter and stories are shared over a delicious meal. You know those moments when food not only feeds the body but also nourishes the soul? That’s exactly what this dish does for me. I just know that once you try it, you’ll feel the same warmth and comfort that I do.
How to Make Garlic Butter Shrimp
Ingredients:
Let’s dive into the key players in this flavorful dish. Here’s what you’ll need:
- 1 pound shrimp, peeled and deveined: This is the star of the show! Choosing fresh shrimp makes all the difference, but if you can only find frozen, just make sure to thaw them properly.
- 2 tablespoons butter: Butter adds that rich, creamy taste that we all love. Feel free to use unsalted if you like to control the salt levels!
- 2 tablespoons olive oil: This helps the butter from burning. Plus, it adds a nice flavor to the dish.
- 3 cloves garlic, minced: Garlic is what brings out that amazing aroma. And let’s face it, everything’s better with garlic!
- 1/2 teaspoon red pepper flakes: This is entirely optional, but if you like a little kick, go ahead and add some!
- Chopped fresh parsley: This adds a vibrant color and freshness to the dish.
- 1/4 cup lemon juice: Freshly squeezed lemon juice is like sunshine in a bottle! It brightens up the flavors beautifully.
- Salt and pepper to taste: Always a must for flavoring!
Cooking Steps:
-
Prepare the shrimp: Start by ensuring your shrimp are fully thawed if they were frozen. Give them a rinse and pat them dry with paper towels. This helps them sear nicely in the skillet.
-
Heat the skillet: In a large skillet, melt the butter and olive oil over medium heat. I love using a cast-iron skillet for this because it distributes heat evenly and gives a lovely sear.
-
Cook the shrimp: Once the butter is melted, add the shrimp to the skillet in a single layer. Cook for about 2-3 minutes on each side or until they turn pink and opaque. This is an important step, so don’t crowd the pan!
-
Add the garlic and red pepper flakes: After flipping the shrimp, add minced garlic and red pepper flakes if you’re using them. Cook for about a minute, just until the garlic is fragrant but not burnt.
-
Stir in the parsley and lemon juice: Once the shrimp is done, turn off the heat and stir in the chopped parsley and lemon juice. This adds a fresh, zesty flavor that you’re going to love.
-
Season with salt and pepper: Give everything a good season with salt and pepper to your taste.
-
Serve immediately: This dish is best enjoyed fresh and hot, right from the skillet.
Why I Love Making This Dish:
Garlic Butter Shrimp is special to me because it brings my family together. Whenever I serve this dish, it’s like an instant celebration. And trust me, there’s nothing better than watching your loved ones gather around the table, smiles on their faces, as they dig into a plate of delicious shrimp. You’re going to love this recipe for its simplicity and quick preparation. It’s perfect for a busy weeknight or to impress guests with minimal effort.
What You’ll Need:
You’ll need a few simple tools to make this dish:
- A heavy-bottomed skillet or frying pan.
- A spatula for flipping the shrimp.
- Measuring cups and spoons.
- A chopping board and a knife for prepping ingredients.
Step-by-Step Guide:
-
Preheat your skillet: Trust me, this preheating step is key to getting that lovely sear on the shrimp.
-
Prep your ingredients: Have everything chopped and ready to go. This dish comes together quickly, so it’s best not to scramble halfway through cooking!
-
Cook in batches if necessary: If you’re making a larger quantity, don’t crowd your shrimp in the pan. Fry them in batches to ensure even cooking.
-
Keep an eye on the garlic: It’s delicate, and if it burns, it can turn bitter. You want it to be a lovely golden color.
-
Add ingredients in the right order: Always add the garlic after the shrimp has cooked a bit to avoid burning.
Tips for Perfect Results:
- For a richer flavor, try using a mix of butter and ghee. This adds a lovely nutty taste!
- Fresh shrimp make all the difference. If you can, buy from a local fishmonger or at a farmer’s market.
- If you love heat, feel free to add a sliced fresh chili when you add the garlic.
Serving Suggestions and Sides:
Garlic Butter Shrimp is delicious on its own, but if you want to make it a meal, consider serving it over a bed of fluffy white rice or a pile of pasta. Steamed asparagus or a light salad pairs beautifully with the flavors as well! A glass of chilled white wine complements this dish nicely. You could also whip up a simple garlic bread to soak up the buttery sauce—trust me, you won’t want to waste any!
Leftovers:
Now, if you somehow have any leftovers (which is rare in my house!), store them in an airtight container in the refrigerator. Just make sure to eat them within a couple of days for the best flavor. When you’re ready to enjoy them again, reheat gently in the microwave or on the stovetop. I recommend avoiding the microwave if possible because it can make shrimp a bit chewy. Just warm them through on low heat instead.
Frequently Asked Questions:
Can I use frozen shrimp? Yes, you can! Just make sure to thaw them completely and pat them dry before cooking. Trust me, this little step helps them sear beautifully.
Can I substitute the shrimp for something else? Of course! While shrimp is the star, you could use scallops or even chicken in this dish. Just make sure the cooking times are adjusted as needed.
Can I make this dish ahead of time? While I recommend serving this dish fresh for the best texture and flavor, you can prep the ingredients in advance. Just wait to cook it until you’re ready to serve.
Conclusion:
This Garlic Butter Shrimp recipe has become a staple in my kitchen, and I’m so excited for you to try it. It’s quick, easy, and downright delicious—a perfect combination for busy evenings or when you want to impress your loved ones. I know you’ll love it as much as I do! Be sure to let me know how it turns out, and if your family asks for seconds, just like mine does every time. Enjoy every bite and happy cooking!
Garlic Butter Shrimp
Ingredients
Main Ingredients
- 1 pound shrimp, peeled and deveined Choose fresh shrimp for best results; if frozen, ensure they are thawed properly.
- 2 tablespoons butter Use unsalted butter if you prefer to control salt levels.
- 2 tablespoons olive oil Prevents butter from burning and adds flavor.
- 3 cloves garlic, minced Adds aroma and flavor.
- 1/2 teaspoon red pepper flakes Optional, for a bit of heat.
- 1/4 cup lemon juice Freshly squeezed enhances flavor.
- Chopped fresh parsley For garnish and fresh flavor.
- Salt and pepper to taste Essential for seasoning.
Instructions
Preparation
- Ensure your shrimp are fully thawed if they were frozen. Rinse them and pat dry with paper towels.
- Preheat a large skillet over medium heat.
Cooking
- Melt butter and olive oil in the skillet.
- Add shrimp in a single layer and cook for about 2-3 minutes per side until pink and opaque.
- After flipping, add minced garlic and red pepper flakes, cooking for about a minute until fragrant.
- Turn off the heat and stir in chopped parsley and lemon juice.
- Season with salt and pepper to taste.
- Serve immediately for best flavor.