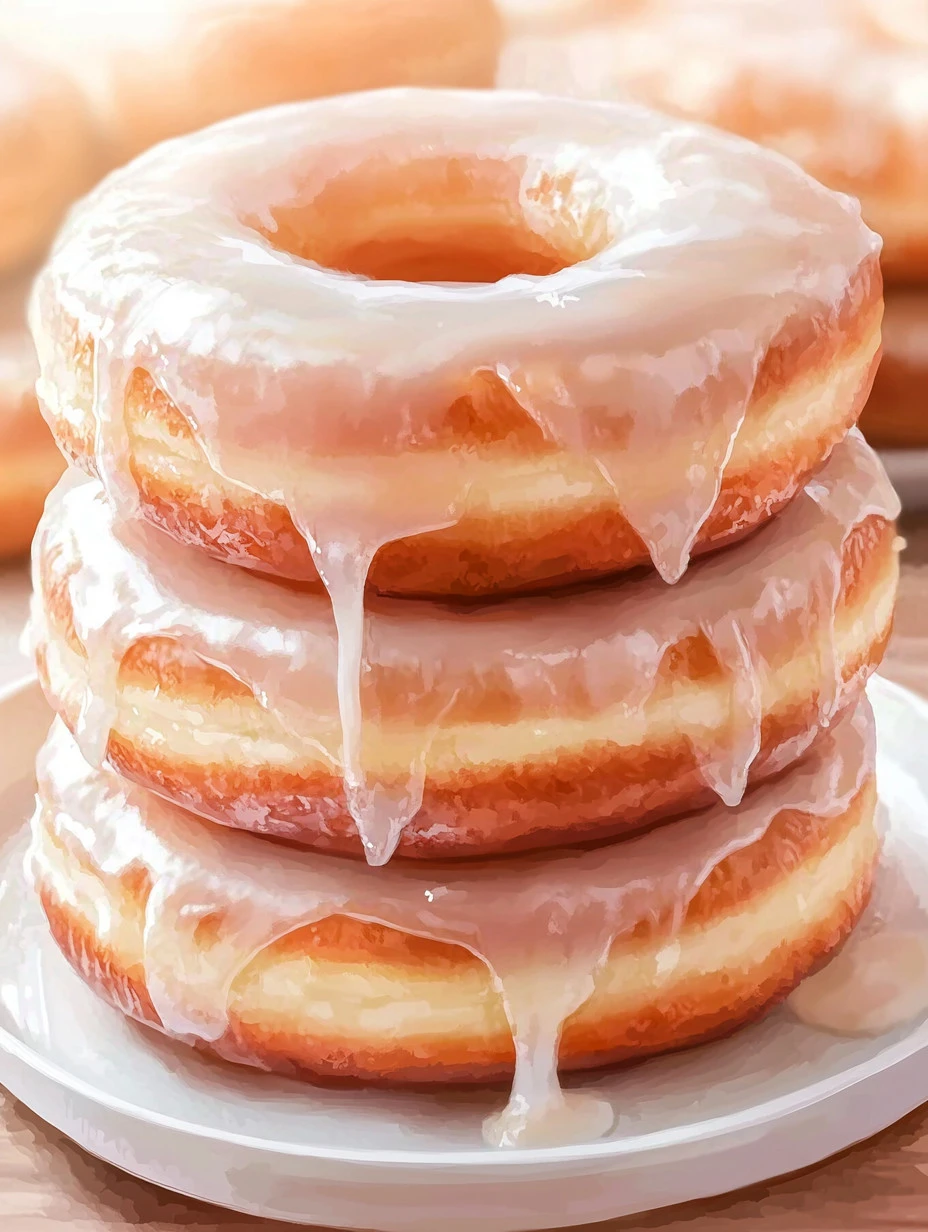
Every time I make these Homemade Glazed Donuts, I’m transported back to my childhood days when my mom would surprise me with a batch on cozy Saturday mornings. The smell of sweet vanilla and warm dough fills the air, instantly making the house feel like home. When you take that first bite, the soft, pillowy texture surrounded by a sweet glaze captures a special moment—a moment of pure joy that I just know you’ll experience too. So grab your apron, and let’s dive into making these delightful donuts together!
Ingredients
Let’s gather our ingredients. I promise these simple items come together perfectly to create that gooey goodness we all crave. Here’s what you’ll need:
| Ingredient | Amount |
|---|---|
| All-purpose flour | 2 cups |
| Sugar | 1 cup |
| Baking powder | 1 tablespoon |
| Salt | 1/4 teaspoon |
| Nutmeg | 1/2 teaspoon |
| Milk | 1/2 cup |
| Melted butter | 1/4 cup |
| Eggs | 2 |
| Vanilla extract | 1 teaspoon |
| Oil (for frying) | As needed |
| Powdered sugar | 2 cups (for glaze) |
| Milk (for glaze) | 1/4 cup |
| Vanilla extract (for glaze) | 1 teaspoon |
Personal Note: I always keep some nutmeg handy. It adds a warm, cozy flavor that makes these donuts taste even more special!
Why I Love Making This Dish
Making homemade donuts is so much fun! The process allows you to connect with the ingredients, and it turns a delicious treat into a heartwarming experience. Plus, who doesn’t love sharing homemade goodies with family and friends? Every time I whip up a batch, I try to involve my kids. They love helping cut out the donuts and, of course, taste-testing the glaze!
What You’ll Need
Before we get started, let’s talk about what tools will make our donut-making adventure easier. You’ll need:
- Mixing bowls (one for dry ingredients and one for wet ingredients)
- A whisk
- A rolling pin
- A donut cutter (or two round cookie cutters)
- A deep fryer or a large pot for frying
- A thermometer to check oil temperature
- A wire rack for cooling
Having these items ready will make the process smooth, so you can focus on enjoying the deliciousness.
Step-by-Step Guide to Making Homemade Glazed Donuts
Mix the Dry Ingredients: Start by grabbing a large bowl. In it, whisk together the all-purpose flour, sugar, baking powder, salt, and nutmeg until everything is well combined. This helps distribute the baking powder evenly, which is key for fluffy donuts.
Whisk the Wet Ingredients: In a separate bowl, combine the milk, melted butter, eggs, and vanilla extract. Whisk until smooth—this mixture adds moisture and flavor to our donuts.
Combine Wet and Dry Mixtures: Pour the wet ingredients into the dry mixture. Gently mix until everything is just combined. Remember, don’t overmix! We want fluffy donuts, not dense ones.
Roll Out the Dough: Lightly flour your countertop, then turn the dough out onto it. Roll it out to about 1/2 inch thick—just thick enough to hold up during frying.
Cut Out Donut Shapes: Use your donut cutter or cookie cutters to cut out shapes. You can even use a smaller cutter for the holes if you’re feeling fancy! Place them on a floured surface and cover them with a towel while you heat the oil.
Heat the Oil: In a deep fryer or a large pot, heat your oil to 375°F (190°C). This temperature is crucial for getting that perfect golden color without absorbing too much oil. Use a thermometer to check the temperature; it’s a must!
Fry the Donuts: Once the oil is hot, carefully drop in your cut donuts. Fry them until they’re golden brown, about 1-2 minutes on each side. Just be careful not to overcrowd the pot; give them enough space to fry evenly.
Drain and Cool: Use a slotted spoon to transfer the donuts to a wire rack. Let them cool for a few minutes—which will be the hardest part because the smell is heavenly!
Make the Glaze: While your donuts cool, let’s whip up that tasty glaze. In a medium bowl, mix together the powdered sugar, milk, and vanilla extract until it’s smooth and creamy.
Glaze the Donuts: Once your donuts are cool enough to handle but still warm, dip them in the glaze. Make sure to coat them well; you want that sweet topping to shine!
Let the Glaze Set: Place your glazed donuts back on the wire rack for a few minutes to allow the glaze to set. This is the time to get excited!
Tips for Perfect Results
- If you want a richer flavor, try adding a little more vanilla extract or even some orange zest to the glaze.
- Don’t skip the nutmeg in the dough; it adds an amazing warmth that’s so comforting.
- If you want fluffy donuts, make sure the oil stays at the right temperature—too low, and they’ll soak up oil; too high, and they’ll cook too quickly.
Serving Suggestions and Sides
These glazed donuts are perfect on their own, but here are a few ideas to elevate your breakfast or snack:
- Pair them with a strong cup of coffee for a delightful morning treat.
- Serve them with fresh berries or a side of whipped cream for a fun dessert.
- You could even try them warm with a scoop of ice cream for a decadent treat.
Leftovers
If, by chance, you have any leftovers (which is rare in my house), store them in an airtight container at room temperature. They typically last a couple of days, but trust me, you’ll want to enjoy them fresh! Simply reheat them in the microwave for a few seconds to enjoy their soft texture again.
FAQ Section
Can I use whole wheat flour instead of all-purpose?
Absolutely! Whole wheat will give them a nuttier flavor and a slightly different texture. I’ve tried it, and it works beautifully.
What if I don’t have nutmeg?
No worries! You can replace it with cinnamon or simply omit it if you’d like. They’ll still taste fantastic.
Can I bake these instead of frying?
You can, but frying gives them that classic donut texture and taste. If you decide to bake them, preheat your oven to 375°F and bake for about 10-12 minutes, but they won’t have quite the same texture.
How can I make them more festive?
You could add sprinkles on top of the glaze or even drizzle chocolate over them for a fun twist!
Conclusion
These Homemade Glazed Donuts have become a cherished recipe in my home, bringing smiles and fulfilling sweet cravings. They’re easy to make and incredibly satisfying, and I’m excited to share them with you. I can’t wait for you to try this recipe—you’re going to love how easy and delicious they are! Make sure to let me know how they turn out; I can guarantee your family will be asking for seconds, just like mine does. Happy baking!

Homemade Glazed Donuts
Ingredients
Donut Dough Ingredients
- 2 cups All-purpose flour
- 1 cup Sugar
- 1 tablespoon Baking powder
- 1/4 teaspoon Salt
- 1/2 teaspoon Nutmeg Adds a warm, cozy flavor.
- 1/2 cup Milk
- 1/4 cup Melted butter
- 2 Eggs
- 1 teaspoon Vanilla extract
- as needed Oil (for frying)
Glaze Ingredients
- 2 cups Powdered sugar
- 1/4 cup Milk (for glaze)
- 1 teaspoon Vanilla extract (for glaze)
Instructions
Preparation
- In a large bowl, whisk together the all-purpose flour, sugar, baking powder, salt, and nutmeg until well combined.
- In a separate bowl, combine the milk, melted butter, eggs, and vanilla extract. Whisk until smooth.
- Pour the wet ingredients into the dry mixture and gently mix until just combined.
- Lightly flour your countertop and turn the dough out onto it. Roll it out to about 1/2 inch thick.
- Use a donut cutter or cookie cutters to cut out shapes and place them on a floured surface. Cover with a towel.
- In a deep fryer or large pot, heat oil to 375°F (190°C).
- Carefully drop the cut donuts into the hot oil and fry until golden brown, about 1-2 minutes per side.
- Transfer the fried donuts to a wire rack to cool slightly.
Glazing
- In a medium bowl, mix together the powdered sugar, milk, and vanilla extract until smooth.
- Dip the warm donuts into the glaze, ensuring they are well coated.
- Set the glazed donuts back on the wire rack to allow the glaze to set.