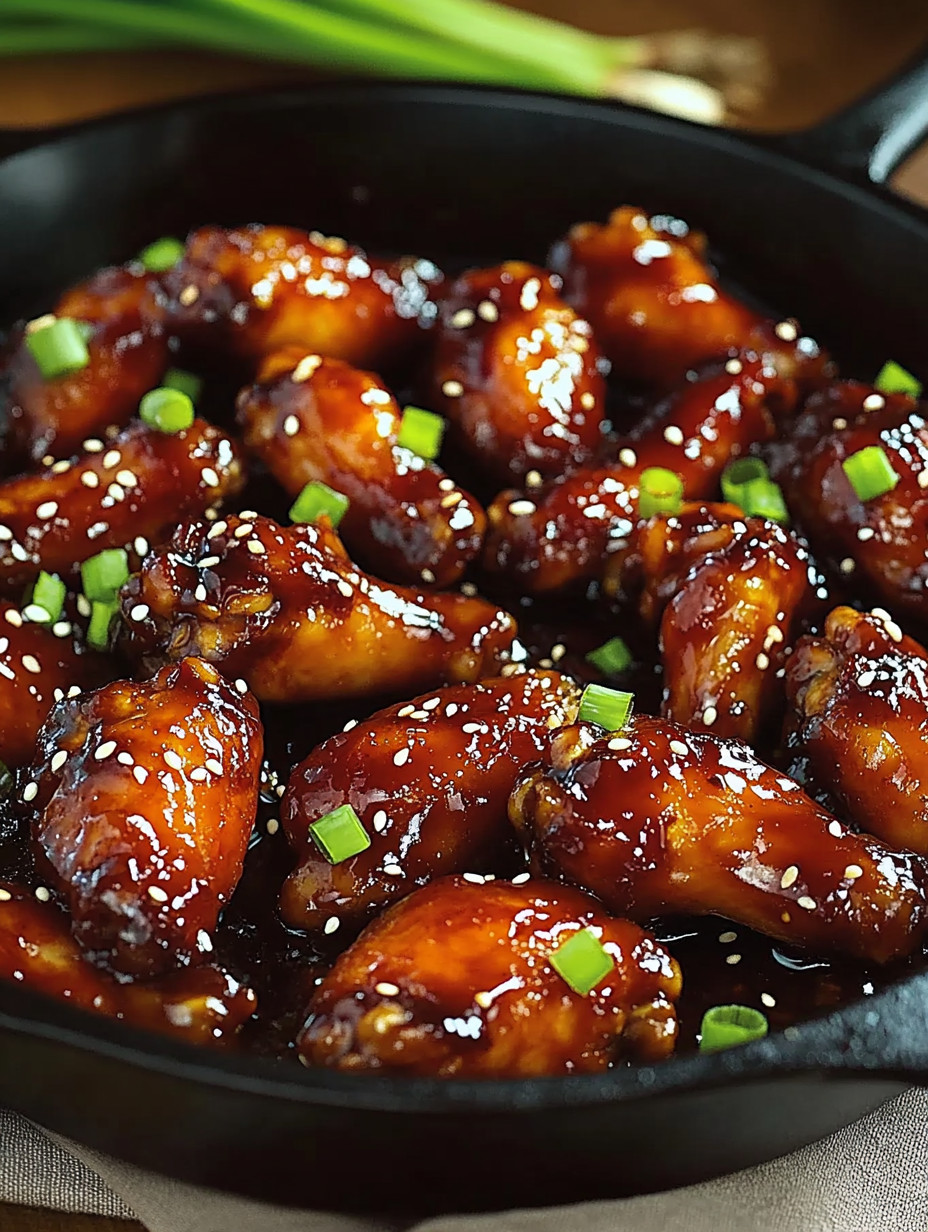
Every time I make these Sticky Honey Garlic Chicken Wings, I’m transported back to those cozy evenings with my family gathered around the dinner table. There’s something so heartwarming about the aroma of sweet and savory wings sizzling in the oven, filling the air with a tantalizing scent that makes everyone’s mouths water. I can still visualize my kids running into the kitchen, their eyes widening with excitement as they eagerly awaited the first bite. That sense of warmth and togetherness is what cooking is all about, isn’t it? I know that once you try this recipe, you’ll feel that same nostalgic comfort, and it might just become a new favorite in your home.
Now, let’s dive into how you can create this delicious dish that will make your family members say “Wow!” every time you serve it up. Making Sticky Honey Garlic Chicken Wings is easier than you might think, and I’m here to guide you through each step with love and care.
Ingredients:
- 2 lbs chicken wings, split into flats and drumettes: These are the stars of the show! Chicken wings are perfect for this recipe because they soak in all the flavorful goodness.
- 1 tablespoon olive oil: A little oil helps to achieve that delightful crispiness that we all love.
- 1 teaspoon garlic powder: This adds a delicious, aromatic touch that lifts the flavor of the chicken.
- 1/2 teaspoon salt: Don’t skip this! It’s essential for enhancing the taste.
- 1/2 teaspoon black pepper: A pinch of spice that makes a big difference!
- 1/3 cup honey: The sweetness that pairs beautifully with the savory elements.
- 1/4 cup soy sauce: This brings a salty depth, making each bite irresistible.
- 3 garlic cloves, minced: Because we can never have too much garlic!
- 1 tablespoon rice vinegar: It balances the sweetness and adds a bit of tang.
- 1 teaspoon sesame oil: Just a touch for that delightful nutty flavor.
- 1/2 teaspoon red chili flakes (optional): If you like a bit of heat, this is your secret weapon!
- 1 tablespoon sesame seeds: This is for garnish to add a lovely crunch.
- 2 tablespoons green onions, chopped: Fresh and vibrant, they bring a nice pop of color to our dish.
I’ve found that using fresh, quality ingredients can make a big difference in the outcome of this dish. For example, if you can get your hands on local honey, it makes the wings taste even better! You’ll just fall in love with the flavors that come together in this recipe.
Now, let me take you through the cooking steps one by one. I promise you, it’s easier than you think!
Cooking Steps
1. Preheat the oven
First things first, let’s get that oven preheating to 400°F (200°C). Trust me, this is key for achieving crispy skin that will have everyone raving about your wings!
2. Pat dry the wings
Grab your chicken wings and pat them dry with paper towels. This might seem like a small step, but getting rid of the moisture is crucial for that crispy texture we all desire.
3. Season the wings
In a large bowl, toss the dried wings with 1 tablespoon of olive oil, 1 teaspoon of garlic powder, 1/2 teaspoon of salt, and 1/2 teaspoon of black pepper. Make sure every wing is evenly coated. Your fingers might get a little messy, but that’s part of the fun!
4. Arrange on a baking sheet
Now, line a baking sheet with parchment paper and arrange the seasoned wings in a single layer. This ensures they cook evenly. I usually try to give them a little space; they love to breathe while they bake!
5. Bake the wings
Slide your baking sheet into the oven and let the wings bake for about 35-40 minutes. Flip them halfway through to ensure both sides crisp up nicely. You’ll see them turning golden brown, and your home will start smelling heavenly!
6. Make the sauce
While the wings are baking, let’s work on that sticky sauce. In a saucepan over medium heat, combine 1/3 cup of honey, 1/4 cup of soy sauce, 3 minced garlic cloves, 1 tablespoon of rice vinegar, 1 teaspoon of sesame oil, and if you’re feeling bold, 1/2 teaspoon of red chili flakes. Stir this mixture gently and let it simmer for about 3-5 minutes, until it thickens just a bit. You’ll be amazed at how the flavors meld together into a beautiful sauce that you’ll want to drizzle over just about everything!
7. Coat the cooked wings
Once your wings are nice and crispy, pull them out of the oven and transfer them to a large bowl. Pour that luscious sauce over them and toss to coat evenly. This is where things get real; you want to make sure every wing is bathed in that sticky goodness.
8. Garnish
Sprinkle the wings with 1 tablespoon of sesame seeds and 2 tablespoons of chopped green onions. Not only does this add a lovely crunch, it makes your dish look so inviting!
9. Serve and enjoy!
Place your wings on a serving platter, and watch as your family gathers around, eagerly waiting to dig in. You might want to make a double batch because I promise, they’ll ask for more!
Why I Love Making This Dish:
Making these Sticky Honey Garlic Chicken Wings brings so much joy to my heart. They remind me of family gatherings, game nights, and special occasions that are never complete without a finger-licking dish on the table. Every time I serve these wings, it sparks conversations and laughter, creating memories that we cherish. Plus, there’s something so satisfying about cooking and sharing meals with loved ones, reinforcing those strong family bonds we all treasure.
What You’ll Need:
You don’t need any fancy tools for this recipe, just a good baking sheet and a saucepan. I also highly recommend using a bowl for tossing the wings, and don’t forget a pair of tongs to help you handle them safely!
Tips for Perfect Results:
- Make sure the wings are dry before seasoning them; it helps achieve that perfect crispiness.
- For an extra layer of flavor, consider marinating the wings in the sauce (minus the honey) for a few hours before baking. It’ll soak in all those great flavors!
- If you like a bit of zest, adding a splash of lime juice in the sauce can brighten up the flavor.
- Always keep an eye on the wings towards the end of the baking time, as ovens can vary.
Serving Suggestions and Sides:
These wings are perfect on their own, but if you want to present a complete meal, serve them alongside some crunchy vegetable sticks (like carrots and celery) and a creamy dip. A nice fresh salad can also balance out the richness of the wings beautifully. And don’t forget the classic pairing of coleslaw! It adds a nice crunch and acidity that complements the sweet and savory wings so well.
Leftovers:
If by some miracle you find yourself with leftover wings, you’re in luck! They make for a fabulous lunch the next day. Just store them in an airtight container in the refrigerator. To reheat, pop them in the oven at 350°F (175°C) for about 10-15 minutes until they’re warmed through. You might even want to brush a little extra sauce on them for that fresh-out-of-the-oven feel!
FAQ Section:
Can I use boneless chicken?
You can, but trust me, the bone-in version is so much more flavorful. I’ve tried both, and bone-in is always juicier!
How do I make these wings spicier?
If you love some heat, add more chili flakes to the sauce or even a splash of hot sauce while cooking. It’s a great way to customize the flavor to your liking!
Can I prepare these ahead of time?
Absolutely! You can season the wings and refrigerate them for up to a day before baking. Just remember to let them sit out for a little bit to reach room temperature before popping them in the oven.
Can I grill these instead?
Yes! These wings are also amazing on the grill. Just cook them over medium heat and baste with the sauce for a smoky flavor that can’t be beat.
This dish has become a favorite in my house, and I’m so excited for you to try it. I know you’ll love it as much as I do! When you see your loved ones smiling and asking for seconds, just like mine do every time, it’ll make your heart soar. Let me know how it turns out, and share your experiences—cooking together is what makes life so rich and fulfilling!
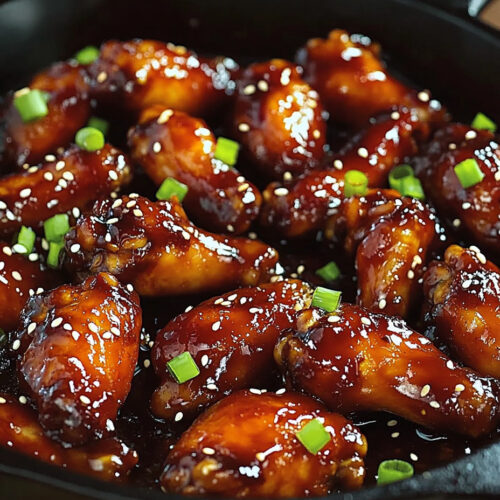
Sticky Honey Garlic Chicken Wings
Ingredients
Main Ingredients
- 2 lbs chicken wings, split into flats and drumettes These are the stars of the show!
- 1 tablespoon olive oil Helps achieve a delightful crispiness.
- 1 teaspoon garlic powder Adds aromatic flavor.
- 1/2 teaspoon salt Essential for enhancing taste.
- 1/2 teaspoon black pepper Adds a pinch of spice.
Sauce Ingredients
- 1/3 cup honey Provides sweetness to the sauce.
- 1/4 cup soy sauce Adds depth to the flavor.
- 3 cloves garlic, minced More garlic for flavor!
- 1 tablespoon rice vinegar Balances sweetness with tang.
- 1 teaspoon sesame oil For a nutty flavor.
- 1/2 teaspoon red chili flakes (optional) Adds heat if desired.
Garnish
- 1 tablespoon sesame seeds For garnish.
- 2 tablespoons green onions, chopped Adds color and freshness.
Instructions
Preparation
- Preheat the oven to 400°F (200°C).
- Pat dry the chicken wings with paper towels.
- In a large bowl, toss the wings with olive oil, garlic powder, salt, and black pepper until evenly coated.
- Line a baking sheet with parchment paper and arrange the wings in a single layer.
Cooking
- Bake the wings in the preheated oven for about 35-40 minutes, flipping halfway through.
- While the wings bake, prepare the sauce by combining honey, soy sauce, minced garlic, rice vinegar, sesame oil, and red chili flakes in a saucepan over medium heat.
- Simmer the sauce for 3-5 minutes until it thickens slightly.
- Once cooked, transfer the crispy wings to a large bowl, pour the sauce over them, and toss to coat evenly.
- Garnish with sesame seeds and chopped green onions before serving.
Serving
- Place the wings on a serving platter and enjoy with your family!