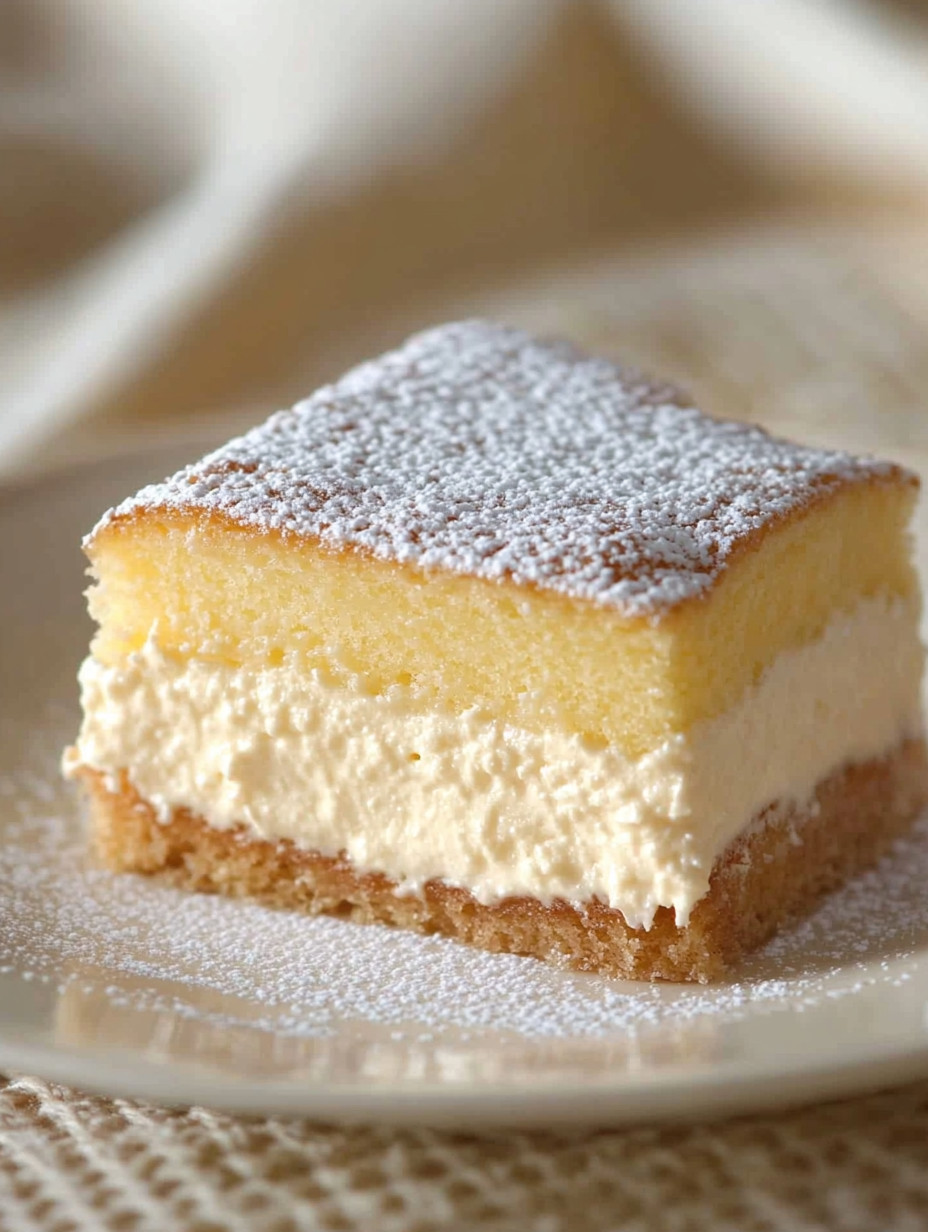
Every time I make this Vanilla Magic Custard Cake, it reminds me of sweet moments spent with my family on cozy Sunday afternoons. As the warm scent wafts through the kitchen, I’m instantly transported back to my grandmother’s house, where we’d gather around the table, laughter filling the air. There’s something magical about a dessert that can invoke such fond memories, and once you try this recipe, you’ll feel the same warmth and comfort! Just imagine slicing into this delightful cake, revealing its creamy layers that seem to whisper tales of nostalgia and joy.
How to Make Vanilla Magic Custard Cake
Ingredients: To create this beautiful dessert, you’ll need some very basic yet essential components. Here’s what you’ll need:
- 1 cup milk: This helps create the lovely custard texture.
- 1/2 cup unsalted butter: It adds richness that enhances the cake’s flavor.
- 1 cup sugar: A little sweetness goes a long way!
- 1 teaspoon vanilla extract: Trust me, this is key for a fragrant and flavorful dessert.
- 4 large eggs: These are crucial for binding and creating a luscious custard.
- 1 cup all-purpose flour: It provides structure to the cake.
- 1 1/2 cups water: This will create the water bath, ensuring your cake has that tender, moist vibe.
- 1/4 teaspoon salt: Just a pinch to balance out the sweetness.
- Powdered sugar for dusting: This adds a lovely finishing touch.
Personal note: If you’re feeling adventurous, you can switch the vanilla extract with almond extract for a unique twist. My family sometimes enjoys that variation too!
Cooking Steps:
1. Preheat the Oven: First, preheat your oven to 325°F (160°C). Trust me; this is key for achieving a perfect bake!
2. Prepare the Baking Pan: While the oven warms up, grab a 9-inch square baking pan and grease it well. You want your cake to release easily after baking.
3. Melt the Butter: In a saucepan over low heat, melt 1/2 cup of unsalted butter. Once it’s melted, let it cool slightly before moving on to the next step.
4. Mix the Wet Ingredients: Add 1 cup of milk, 1 cup of sugar, and 1 teaspoon of vanilla extract to the melted butter. Stir until everything is well combined. The sweet aroma already starts to fill the air, doesn’t it?
5. Whisk the Eggs: In a separate bowl, whisk together 4 large eggs. You want them to be pale and fluffy. This step makes such a difference, trust me!
6. Combine Mixtures: Gradually pour the butter and milk mixture into the eggs while whisking constantly. This will help prevent the eggs from scrambling—nobody wants that!
7. Sift the Flour: Sift 1 cup of all-purpose flour and 1/4 teaspoon of salt into the mixture. Gently stir until just combined. Be careful not to overmix; we want it light and fluffy!
8. Pour the Batter: Now, pour the batter into the prepared baking pan. Don’t worry if it looks a bit thin; that’s how it should be.
9. Prepare the Water Bath: This is an important step! Carefully pour 1 1/2 cups of hot water into a larger baking pan. Place your cake pan inside this water bath, which helps to create that moist texture.
10. Bake the Cake: Slide the pans into the oven and bake for 40-50 minutes. The top should be golden, and the center will be set yet slightly wobbly. That’s perfect!
11. Cool Down: Once it’s done, remove the cake from the oven. Let it cool in the water bath for a few minutes, then transfer it to a wire rack. This part is always hard for me because the smell is irresistible!
12. Dust and Serve: Before serving, give it a light dusting of powdered sugar. It adds a beautiful touch and a bit of sweetness!
Why I Love Making This Dish: What makes Vanilla Magic Custard Cake special to me is not just its delightful taste but the way it brings everyone together. I remember making it for my grandchildren, watching their eyes light up as they took the first bite. It’s a dessert that sparks conversation and makes you feel connected to the people you love.
Tools You’ll Need:
- A saucepan
- A whisk
- Mixing bowls
- A 9-inch square baking pan
- A larger baking pan for the water bath
- Oven mitts (those pans can get hot!)
Tips for Perfect Results:
- Be gentle with the batter. When mixing in the flour and salt, stir just until combined. Over-mixing can lead to a dense cake, and we want it light and airy!
- Use fresh ingredients. The quality of your ingredients makes a difference, especially the eggs and vanilla extract.
Serving Suggestions and Sides: This cake is delicious on its own, but if you want to amp it up just a bit, consider serving it with fresh berries on top. Strawberries or blueberries add a lovely pop of color and flavor. A dollop of whipped cream can take it to the next level too! I often serve it with a hot cup of coffee, especially when I have friends over for a catch-up.
Leftovers: If you happen to have any leftovers (which is rare around my house!), store them in an airtight container in the refrigerator. You can reheat individual pieces in the microwave for about 10-15 seconds. Alternatively, enjoy it cold—it’s just as delightful straight from the fridge!
FAQ Section:
Can I use non-dairy milk? Absolutely! You can substitute almond or soy milk if you prefer. Just be sure to choose something unsweetened.
What if I don’t have a square baking pan? No problem at all! You can use a round pan, just adjust the baking time slightly. Check for doneness with a toothpick.
Can I add flavors other than vanilla? Of course! Almond or even lemon zest could add a delightful twist. Experiment a little, and find what your family loves.
Can I make this ahead of time? Yes! This cake actually tastes better after sitting in the fridge for a day. Just make sure to dust it with powdered sugar right before serving.
This Vanilla Magic Custard Cake has become a cherished recipe in my household, and I’m so excited for you to try it. If you’re looking for a dessert that sings of comfort and family, this is it. Trust me; you’ll love how easy it is to make and how delicious it turns out! Let me know how it goes, and if your family asks for seconds, just like mine does every time. I can’t wait to hear about your own magical moments with this delightful cake!

Vanilla Magic Custard Cake
Ingredients
For the Custard Batter
- 1 cup milk Helps create the lovely custard texture.
- 1/2 cup unsalted butter Adds richness that enhances the cake’s flavor.
- 1 cup sugar A little sweetness goes a long way!
- 1 teaspoon vanilla extract Key for a fragrant and flavorful dessert.
- 4 large eggs Crucial for binding and creating a luscious custard.
- 1 cup all-purpose flour Provides structure to the cake.
- 1/4 teaspoon salt Just a pinch to balance out the sweetness.
For Baking and Serving
- 1 1/2 cups water Used for the water bath to ensure a moist cake.
- Powdered sugar For dusting before serving.
Instructions
Preparation
- Preheat your oven to 325°F (160°C).
- Grease a 9-inch square baking pan.
- Melt the unsalted butter in a saucepan over low heat and let it cool slightly.
- In the melted butter, add milk, sugar, and vanilla extract, stirring well until combined.
- In a separate bowl, whisk together the eggs until pale and fluffy.
- Gradually pour the butter and milk mixture into the eggs while whisking constantly.
- Sift in the flour and salt, gently stirring until just combined.
- Pour the batter into the prepared baking pan.
- Pour hot water into a larger baking pan and place the cake pan inside it.
Baking
- Bake for 40-50 minutes until the top is golden and the center is set yet slightly wobbly.
- Let the cake cool in the water bath for a few minutes, then transfer it to a wire rack.
- Dust with powdered sugar before serving.