
How to Read Crochet Patterns: Abbreviations, Symbols and Repeats
Crochet patterns become manageable when you separate setup information from stitch instructions. Confirm the terminology and size first, then translate one grouped instruction at a time.
Read everything before the first stitch
A well-structured pattern gives you information that controls the result before the row-by-row directions begin. Look for:
- Terminology: U.S. and U.K. stitch names are different.
- Skill level and techniques: confirm that unfamiliar methods are explained.
- Sizes and finished measurements: choose by actual dimensions, not only labels such as small or medium.
- Materials: yarn weight, fiber, total yardage, hook size, notions, and any substitution notes.
- Gauge: the stitch pattern, measurement, and whether the swatch should be washed.
- Special stitches and notes: definitions may differ between designers.
The suggested hook does not guarantee the designer’s measurements. Make the stated gauge swatch when the finished size matters.
Common U.S. crochet abbreviations
| Abbreviation | Meaning | What it tells you |
|---|---|---|
| ch | chain | Make chain stitches |
| sl st | slip stitch | Make a very short joining or moving stitch |
| sc | single crochet | Make a U.S. single crochet |
| hdc | half double crochet | Make a U.S. half double crochet |
| dc | double crochet | Make a U.S. double crochet |
| tr | treble crochet | Make a U.S. treble crochet |
| inc / dec | increase / decrease | Add or reduce stitches using the method defined by the pattern |
| st(s) | stitch(es) | Refers to individual stitches |
| sp | space | Work into an open chain space or stated gap |
| rep | repeat | Repeat the specified sequence |
| RS / WS | right side / wrong side | Identifies the intended outward and inward faces |
Do not assume every designer abbreviates a special stitch identically. The pattern’s own abbreviation and special-stitch key takes priority. Learn the motions in the essential stitch library.
What asterisks, brackets, and parentheses mean
Patterns use punctuation to group repeated instructions. Exact conventions can vary, so read the pattern notes, but these are common:
- Asterisks: repeat the sequence after the asterisk as directed. Example: *sc in next st, ch 1; rep from * across.
- Brackets: group instructions that are repeated together or worked into one place. Example: [2 dc, ch 1] in next sp.
- Parentheses: may group a sequence, show alternate size counts, or provide the row’s final stitch count.
- Colon: often introduces a sequence or instruction for a specific size.
Multiple sizes are commonly written in a fixed order. Highlight your chosen size throughout the pattern before starting, and confirm that every later number uses the same position.
How to read an example row
Row 2: Ch 1, turn, sc in first st, *ch 1, sk next st, sc in next st; rep from * across. (15 sc, 14 ch-1 sps)
- Ch 1, turn: make one turning chain and rotate the work.
- sc in first st: work one single crochet in the first stitch; this wording indicates the turning chain is not replacing that stitch.
- *ch 1, sk next st, sc in next st: make one chain, leave the next stitch unworked, then single crochet in the following stitch.
- rep from * across: repeat only the sequence that began after the asterisk.
- (15 sc, 14 ch-1 sps): count the single crochets and chain-one spaces to check the completed row.
How crochet symbol charts work
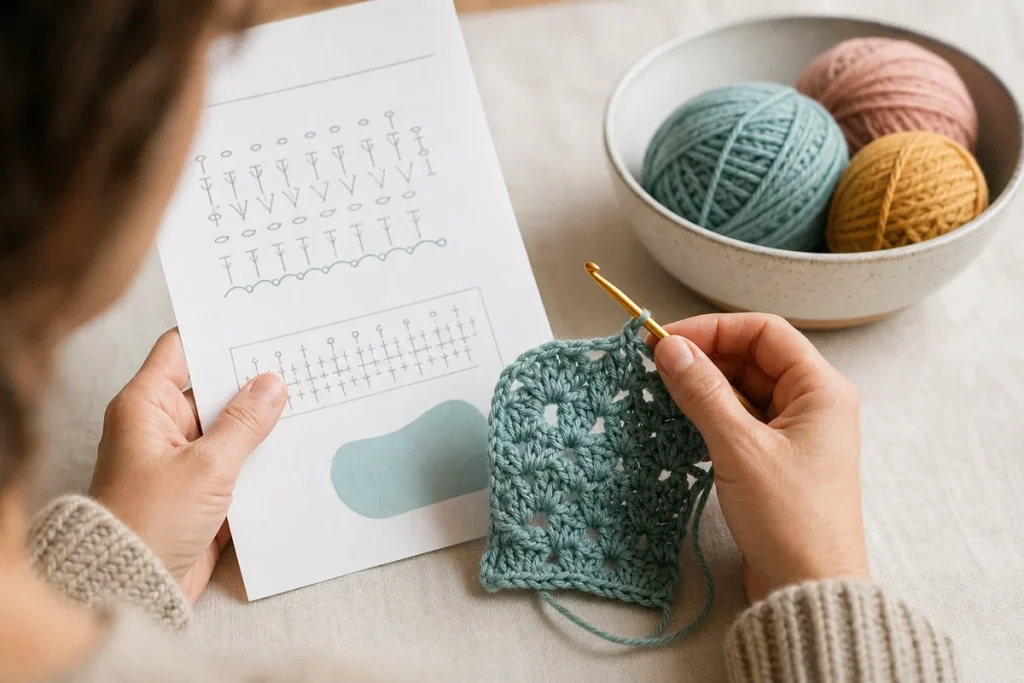
A crochet chart uses standardized or widely recognized symbols to show stitches and their placement. A symbol legend identifies the stitch represented. Rows are read in alternating directions when the work turns; rounds are generally read outward from the center, usually counterclockwise for right-handed conventions unless stated otherwise.
Charts are especially useful for motifs and lace because they show where stitches enter. A chart does not remove the need to read notes about starting points, joins, repeats, colors, and size changes.
Simple ways to track your place
- Highlight only the numbers for your selected size.
- Use a row counter, note app, or pencil tally after completing a row—not before.
- Place a marker at the beginning of a round and move it after each round.
- Check the stated stitch count before advancing.
- For a long repeat, place markers between repeats so each section can be counted separately.
When your work does not match the pattern
| Mismatch | Check first | Next action |
|---|---|---|
| Wrong stitch count | Skipped edge stitches, missed repeats, or stitches worked into the wrong space | Count the previous correct row and undo only to the first error. |
| Wrong finished size | Gauge, chosen size, and whether the swatch was washed | Re-swatch before continuing a size-sensitive project. |
| Texture looks different | U.S./U.K. terms, front/back loops, or right/wrong side | Re-read terminology and special-stitch notes. |
| Round seam drifts | Whether the turning chain counts and where the join is made | Follow the designer’s exact round-start convention. |
Frequently asked pattern questions
What does “work even” mean?
Continue in the established stitch pattern without adding or removing stitches, usually for the stated length or number of rows.
What does “as established” mean?
Repeat the stitch placement or sequence already set in previous rows while incorporating any new shaping instructions.
What does “join” mean in a round?
It usually means use a slip stitch to connect the last stitch or chain to the stated starting point. Follow the pattern because the precise joining location matters.
How do I know whether a pattern uses U.S. terms?
Look for an explicit terminology note. If it lists single crochet (sc), it is almost certainly using U.S. terminology because standard U.K. terminology does not use that stitch name.
Sources and standards
Technical terminology and sizing were checked against the following references:


